Solving routine
How I work through a puzzle with Grid9: which tool I reach for first, when I ask for help, and how the whole thing turns into a loop. It is one way to solve, not the only one.
Free and Premium. Everything about notes, Fill auto and the hint overview is free. The steps of the hint ladder (Where, Which cells, Why, Apply) are marked Premium.
Note
There is no single way
This is the order I personally switch between marking candidates myself, checking the hint overview and running Fill auto. If you already have your own rhythm, or like a different mix of the app’s tools, that is just as correct. Take what works for you and skip what does not.
Every step below leans on something the app already does. The guide only shows the order I use them in.
Step 1
Start simple: scan the digits
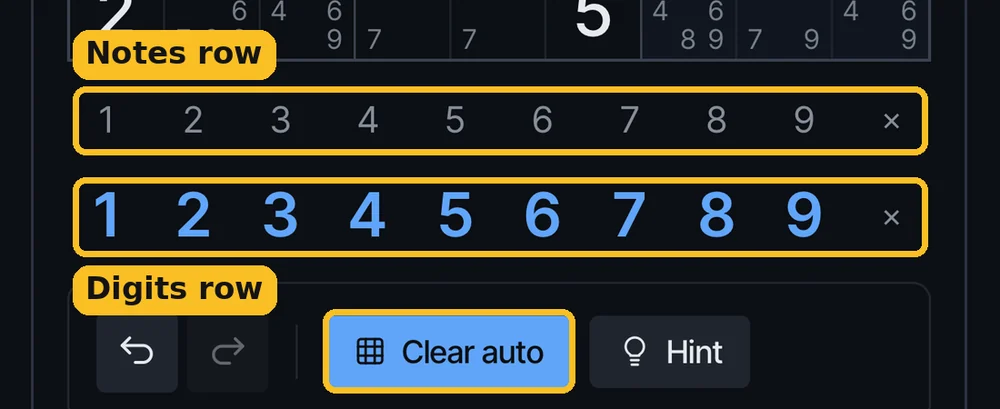
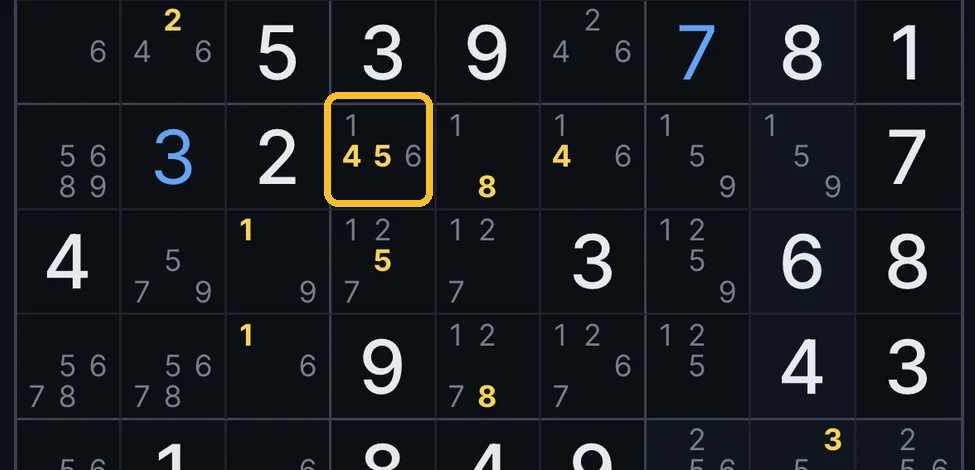
I go through the digits 1 to 9, one at a time. For each digit I scan box by box, and wherever only one or two cells could still take it, I pencil it in with Snyder notation: the amber notes you tap in with the grey Notes row.
If only one cell is left for the digit, that is a Single, and I place the number straight away instead of noting it. With three or more places left it is too early to bother writing it down.
Example The 3 can only go in two cells of this box, so both get an amber 3.
Step 2
Scan again
Then I go through 1 to 9 a second time. The placements from the first pass almost always free up new cells: a digit that had three possible places before often has one or two now.
This is the point where the board really starts to open up, and I still have not filled in a single full candidate list.
Step 3
Look for patterns in the notes
With numbers placed and a few Snyder notes in the grid, I look for rows, columns and boxes that already show a Hidden Single, a Hidden Pair or even a Box/Line Reduction. Often they are visible without ever filling in every candidate.
These techniques read from the same row, column and box logic that Fill auto uses. You just do not need the full picture to spot them.
Snyder notes work completely on their own. You never have to touch Fill auto at all if you prefer to reason it out yourself.
Step 4
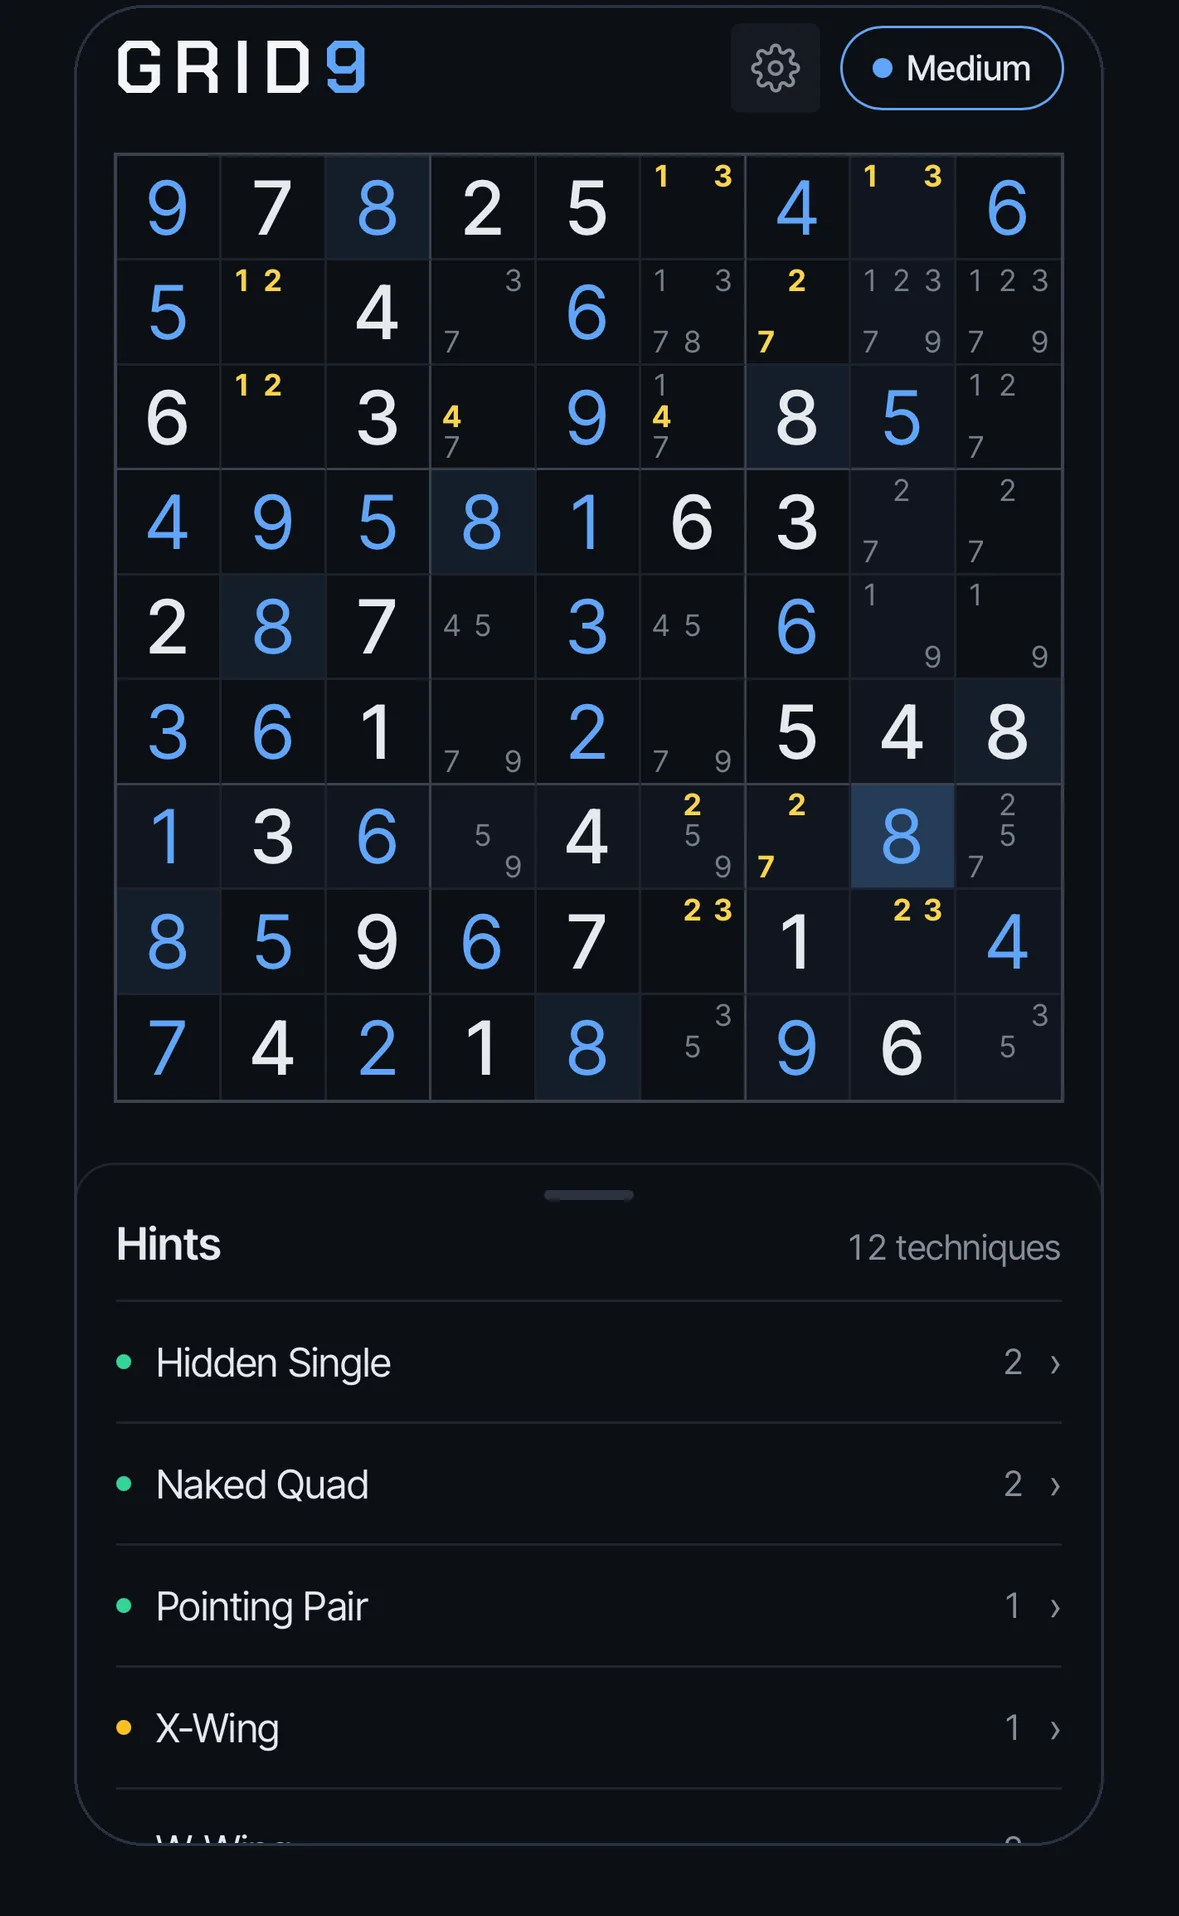
Check the overview
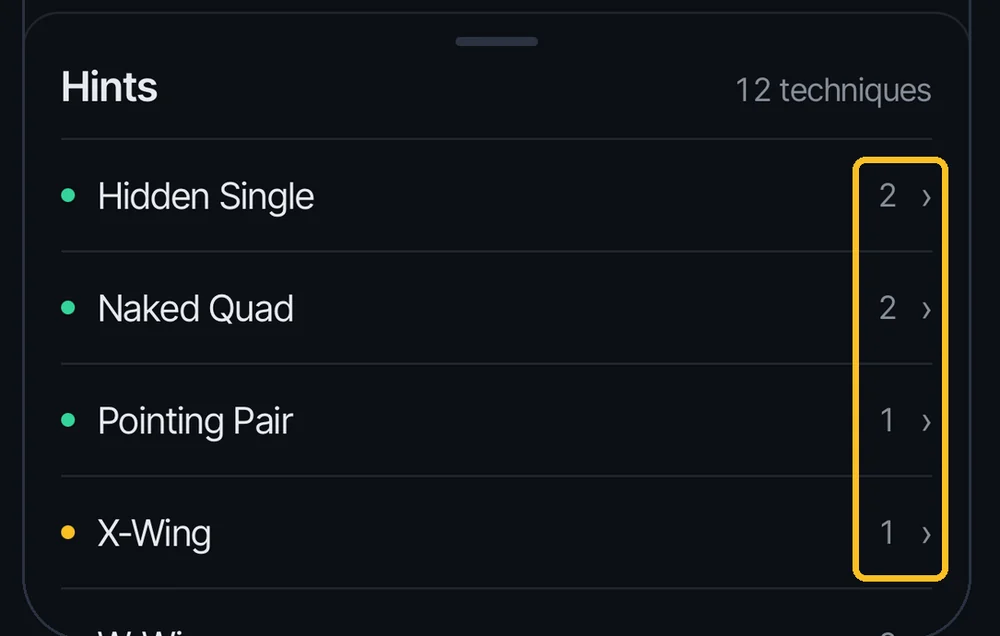
Now I open the hint panel, but only for a quick look at the overview, not the detail view. It lists the techniques that have a hit in the position right now, with a count. If a Naked Single or a Hidden Single is on the list, it should be one I could already find myself, since neither needs a full candidate fill.
The overview answers “what can I do here?” without giving the move away. Just glance at it, there is no need to tap into a technique yet.
Step 5 Premium
Take only as much help as you need
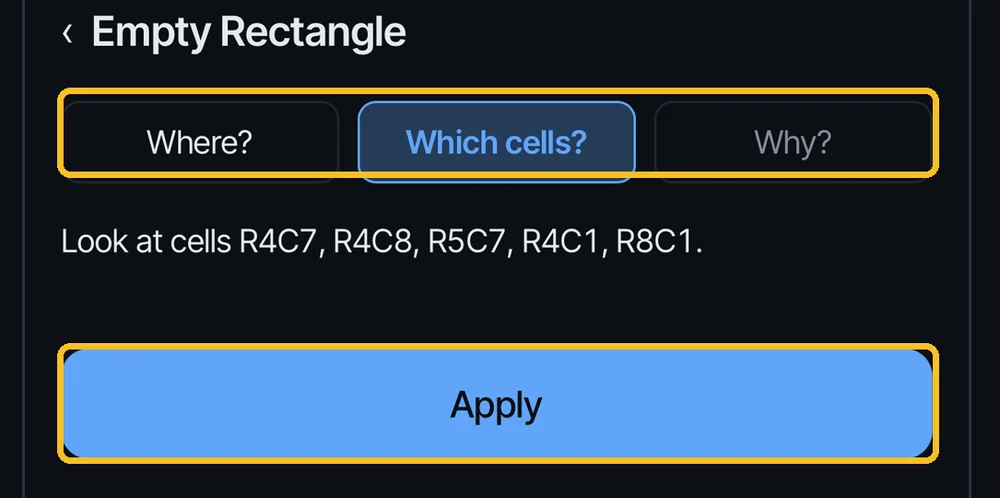
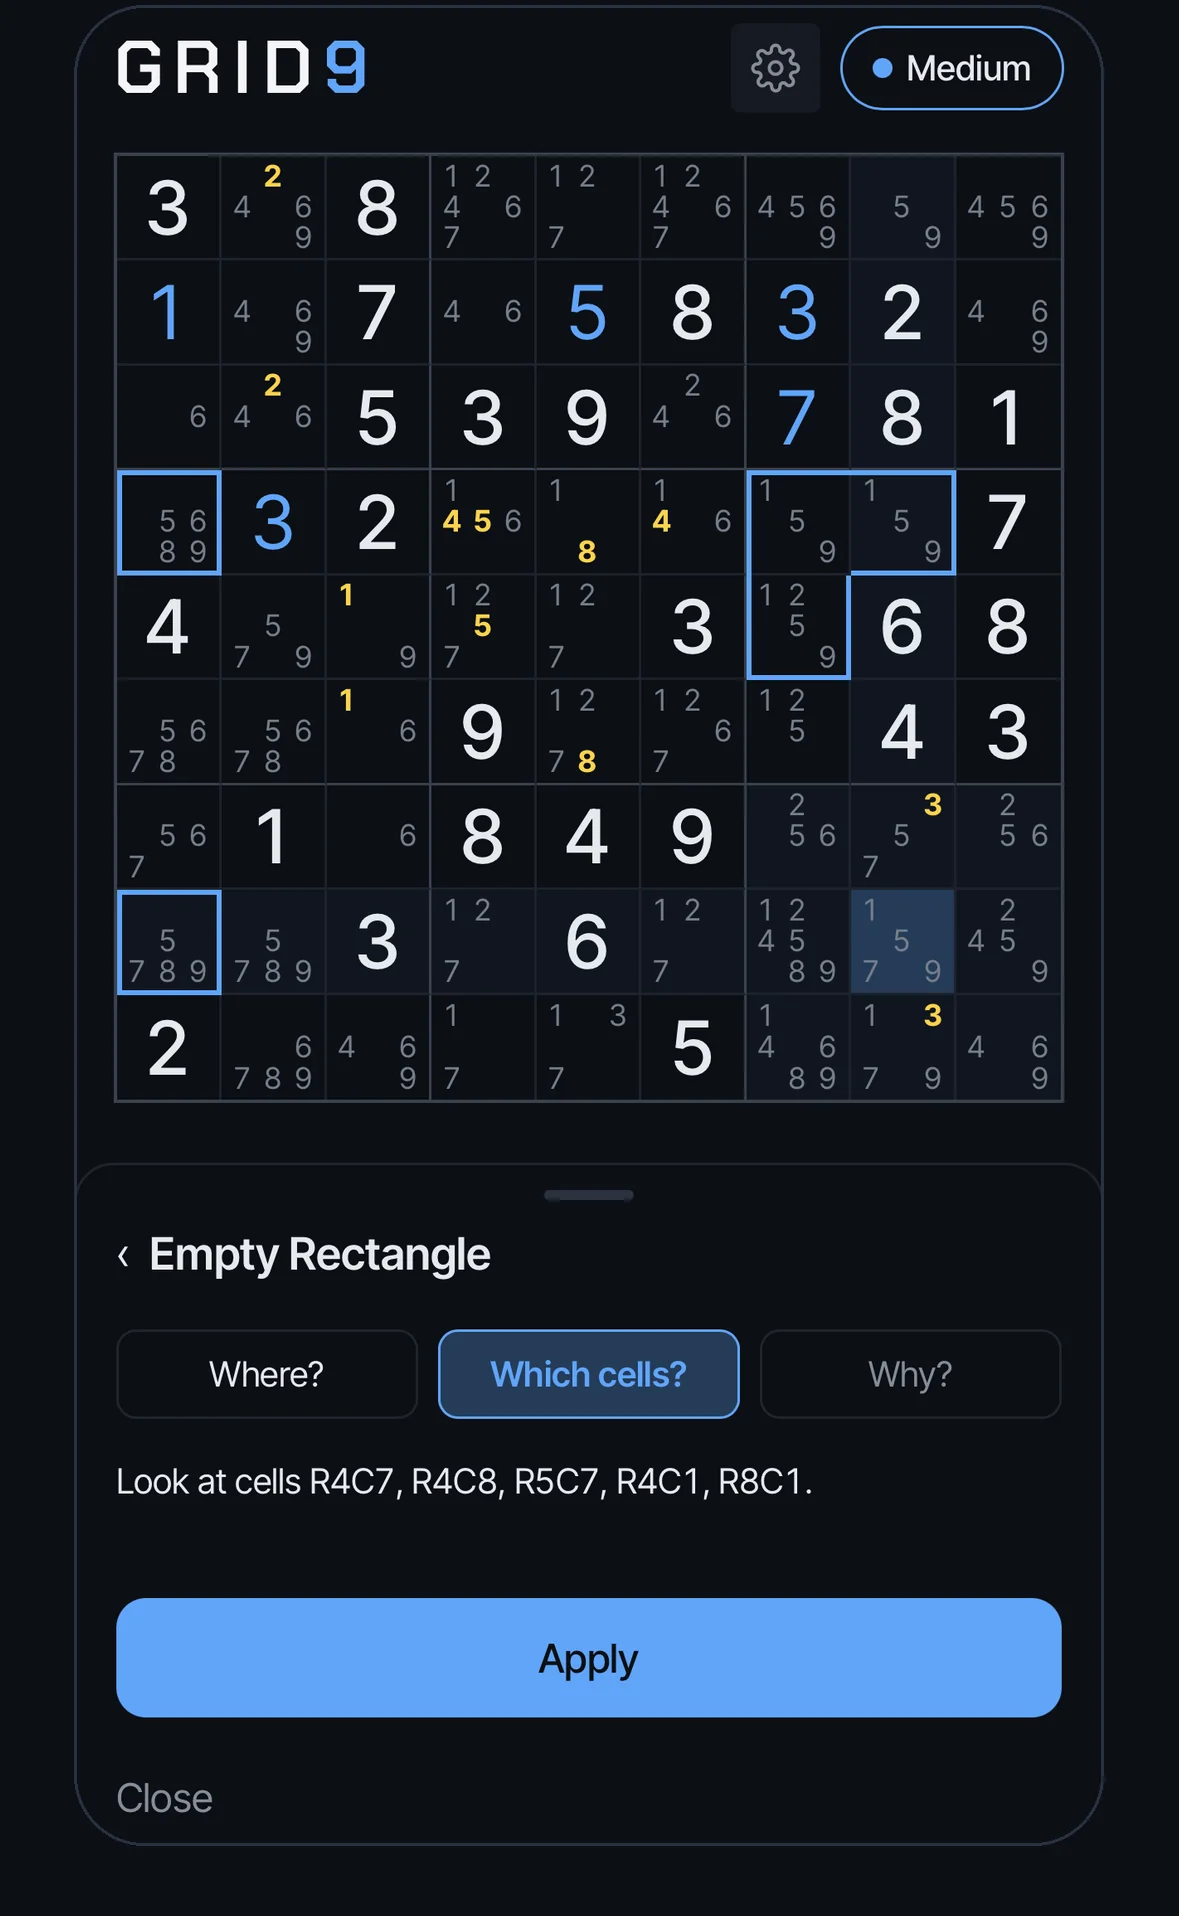
If I still cannot find it, that is what hints are for. I start with the smallest one. Still stuck? I take the next. There is no shame in it, that is exactly what the step ladder is for: as much or as little help as you need.
- Where? Points out where to start looking. Try to find it yourself before going further.
- Which cells? Shows exactly which cells the technique involves.
- Why? The reasoning: why the pattern works and what it lets you remove.
- Apply carries out the move for you.
Next hit does something different: it jumps to the next place on the board where the same technique applies, if there is more than one.
Step 6
Go deeper when needed
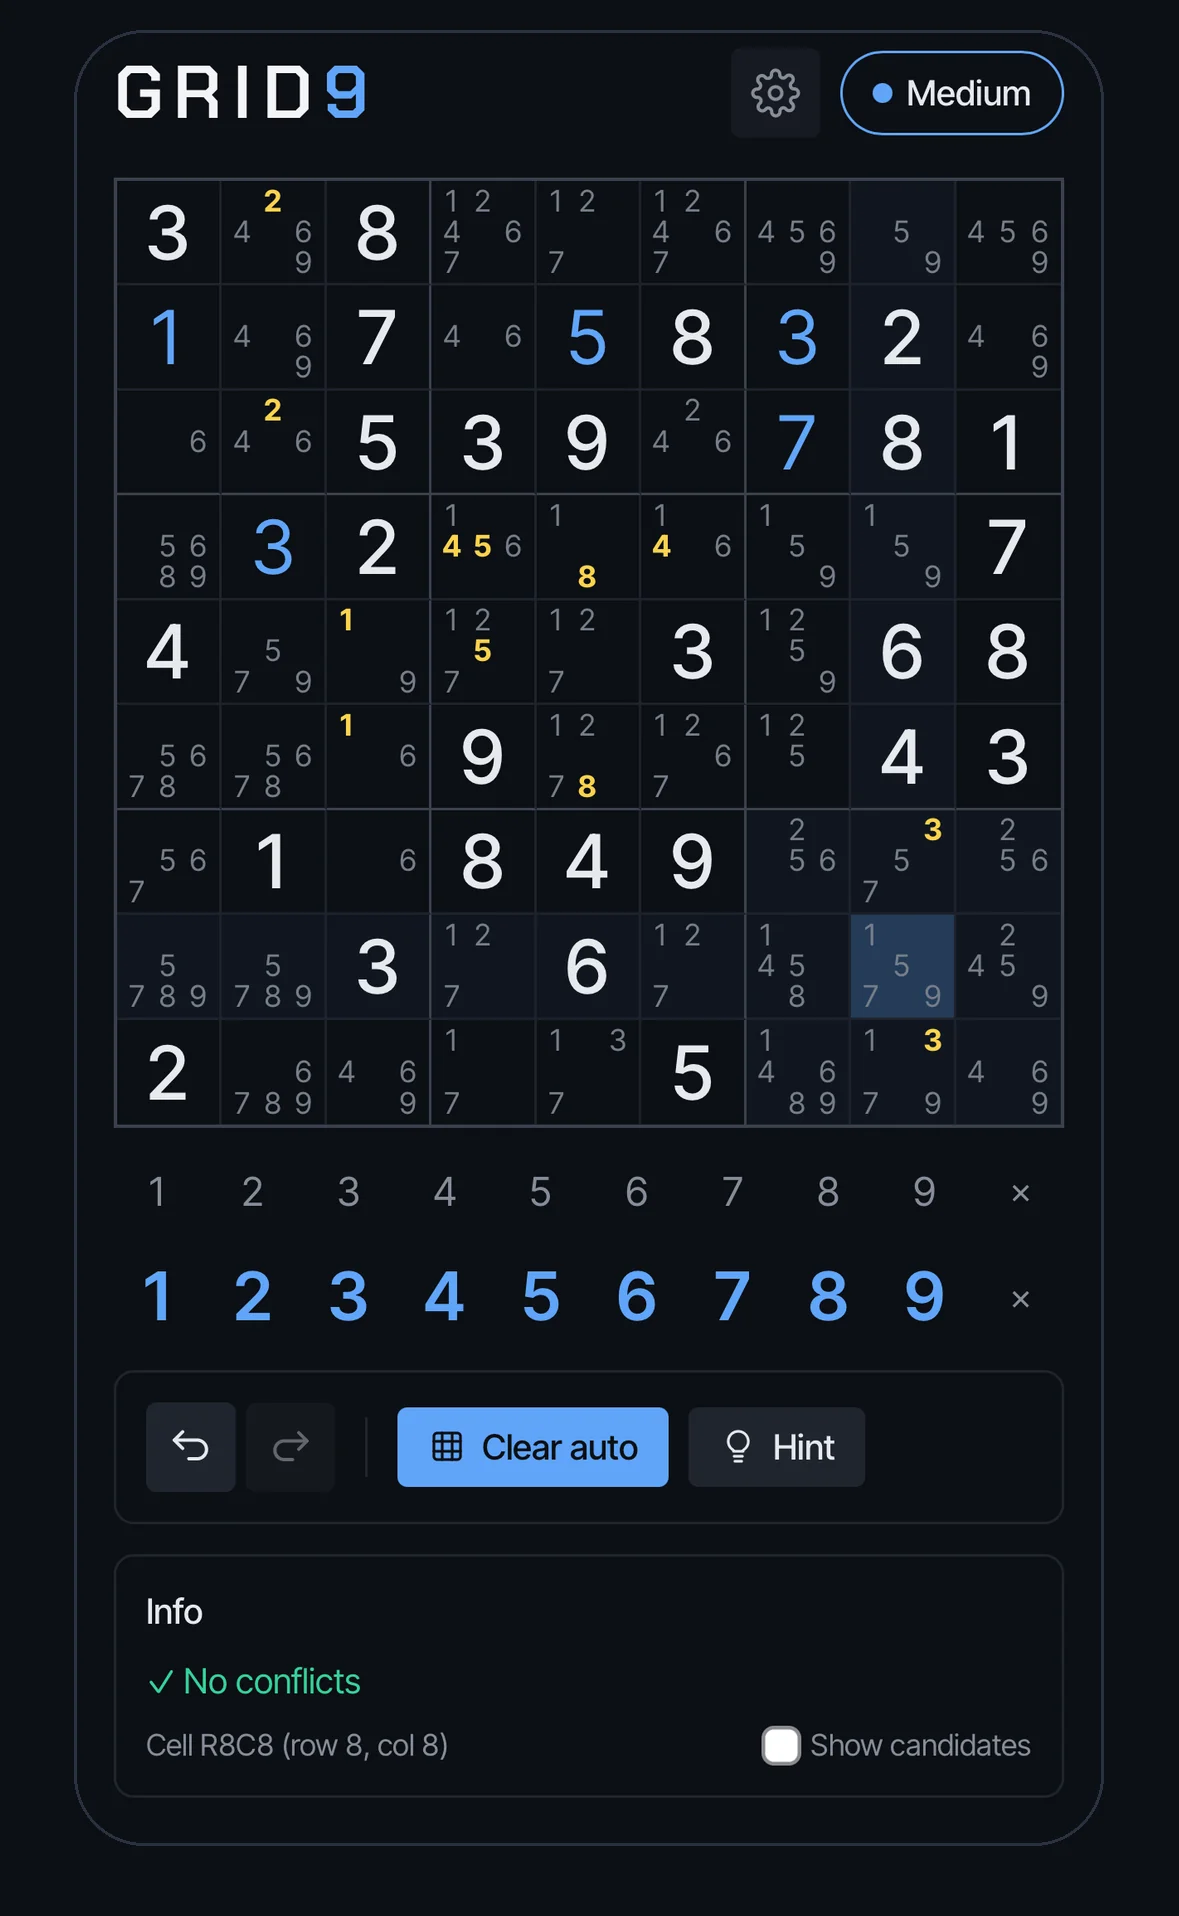
Once the easy passes are used up, I run Fill auto and look at every candidate at once. That is when I hunt for the tougher patterns, such as a Hidden Pair or a Naked Triple, and cross off every candidate I can find a reason to remove.
Fill auto only computes what the raw row, column and box rules allow. It never eliminates through a technique on its own. Finding those eliminations is still my job, or the hint ladder’s.
Step 7
Reduce the noise
With every candidate filled in, the board gets crowded fast. When I have finished cross-referencing I switch Fill auto back off. The grid looks clean again, but my own eliminations are still remembered underneath.
the 5 is already crossed offAuto off
clean, the 5 stays gone13789Auto on again
still no 5
Fill auto is a toggle, not a one-way door. Turn it on when you need the full picture and off when you do not. It never forgets what you or a technique has already ruled out.
Step 8
Repeat the cycle
This was never really 1 to 8 and done. It is a loop. The grid changes with every move, and my approach changes with it.
- Scan
- Solve
- Look for patterns
- Check the overview
- Ask for help
- Go deeper
- Clean up
- Repeat
The same handful of tools, cycled through in whatever order the puzzle asks for, until it is solved.
Step 9 Premium
It works on paper puzzles too
Say you are stuck on a puzzle from a magazine or a puzzle book, with nowhere else to turn. Enter it through Enter custom puzzle in the gear menu, and the whole routine above is yours to use on it: notes, Fill auto and the hint ladder, exactly as if it had started in the app.
Same tools, same routine, different starting point. Read how entering a puzzle works →
The routine on one screen
- Scan digits 1 to 9, box by box. Place Singles, note digits with one or two places left.
- Scan again. The first pass has opened new cells.
- Look for Hidden Singles, Hidden Pairs and Box/Line Reductions in the notes.
- Glance at the hint overview. Find the Singles yourself.
- Still stuck? Climb the ladder one rung at a time.
- Run Fill auto and hunt for pairs, triples and other eliminations.
- Turn Fill auto off to clean up. Your eliminations stay.
- Go round again.
All guides Learning a strategy →
Try it yourself
This guide is also built into the app, under the gear menu. Reading is always free.
Coming soon to the App Store