Learning a strategy
How I pick up one technique I do not know yet: read it, think it through, find it on a real puzzle, walk through why it works, and then try to spot it myself.
Free and Premium. Reading the explanation of any technique is free. Practising a technique on puzzles built for it, and the Step by step mode, need Premium.
Note
Not a checklist to clear
Most of what you will ever use, such as Hidden Pair, Naked Triple or Pointing Pair, you will start to notice on your own just by solving puzzles with the Solving routine. This guide is for the techniques that do not click that way: a way to sit down deliberately with one unfamiliar pattern and learn it.
There is no progress bar, nothing to unlock and no level to reach. Pick a technique because you are curious about it, go at your own pace and stop the moment it clicks, or whenever you have had enough for today.
Step 1 Premium
Pick one you do not know
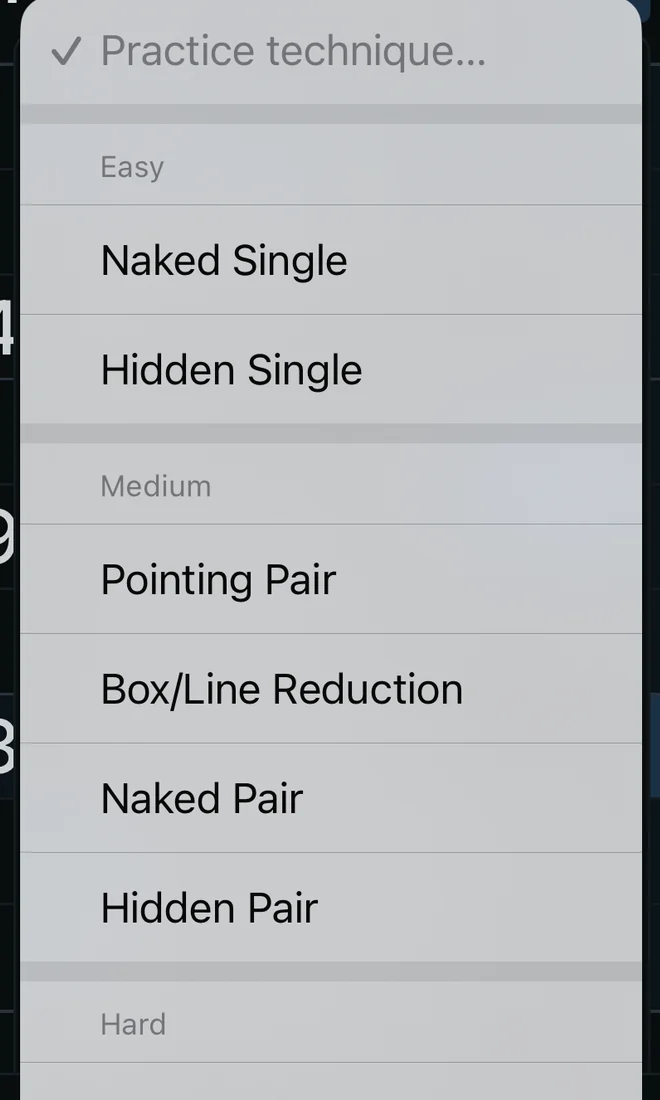
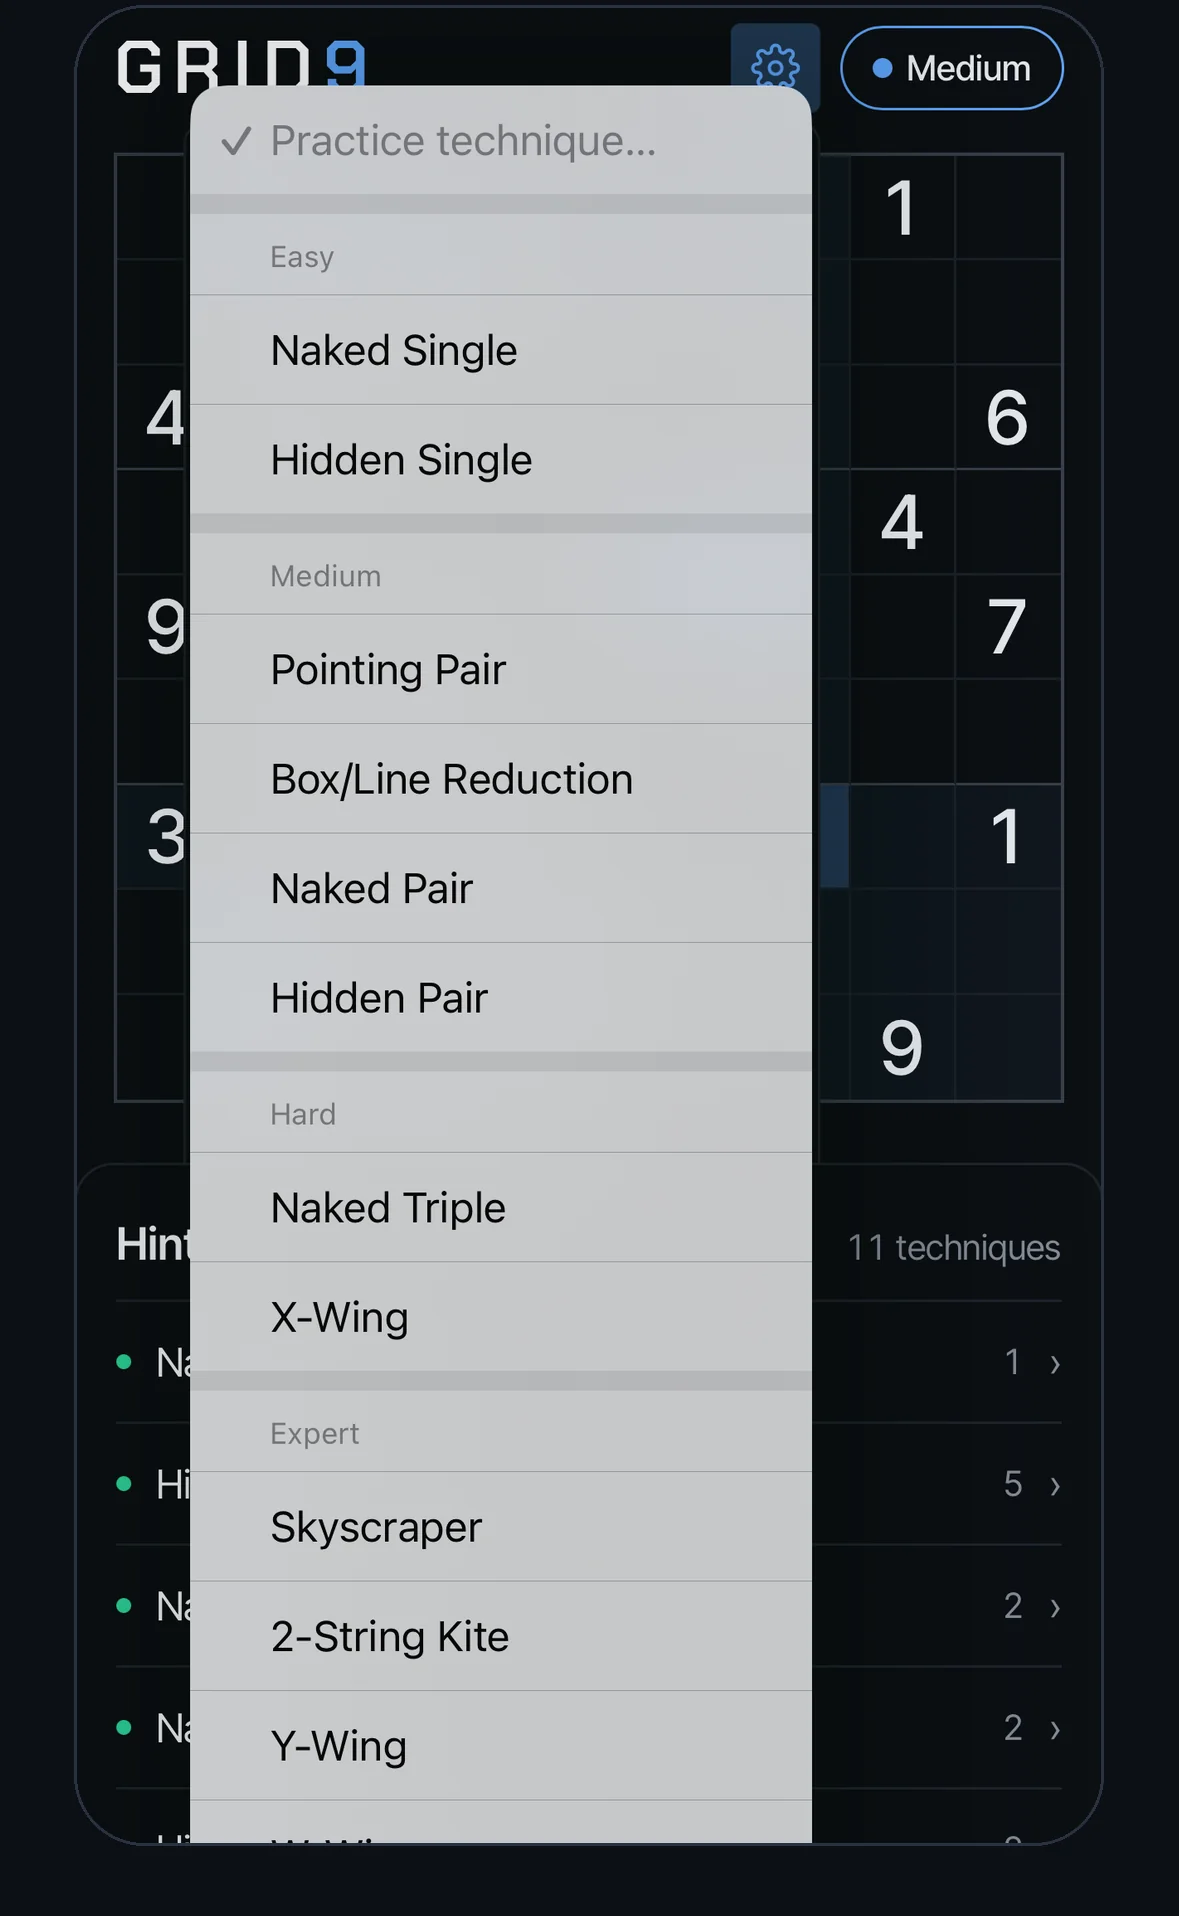
I open the gear menu and choose Practice technique…. It lists every technique Grid9 knows, grouped by how advanced it is. I pick one I do not reliably spot myself yet.
Swordfish is a good example for this guide: three rows, three columns, one digit. It is genuinely hard to see until you have looked at a few.
Step 2
Read it before you hunt
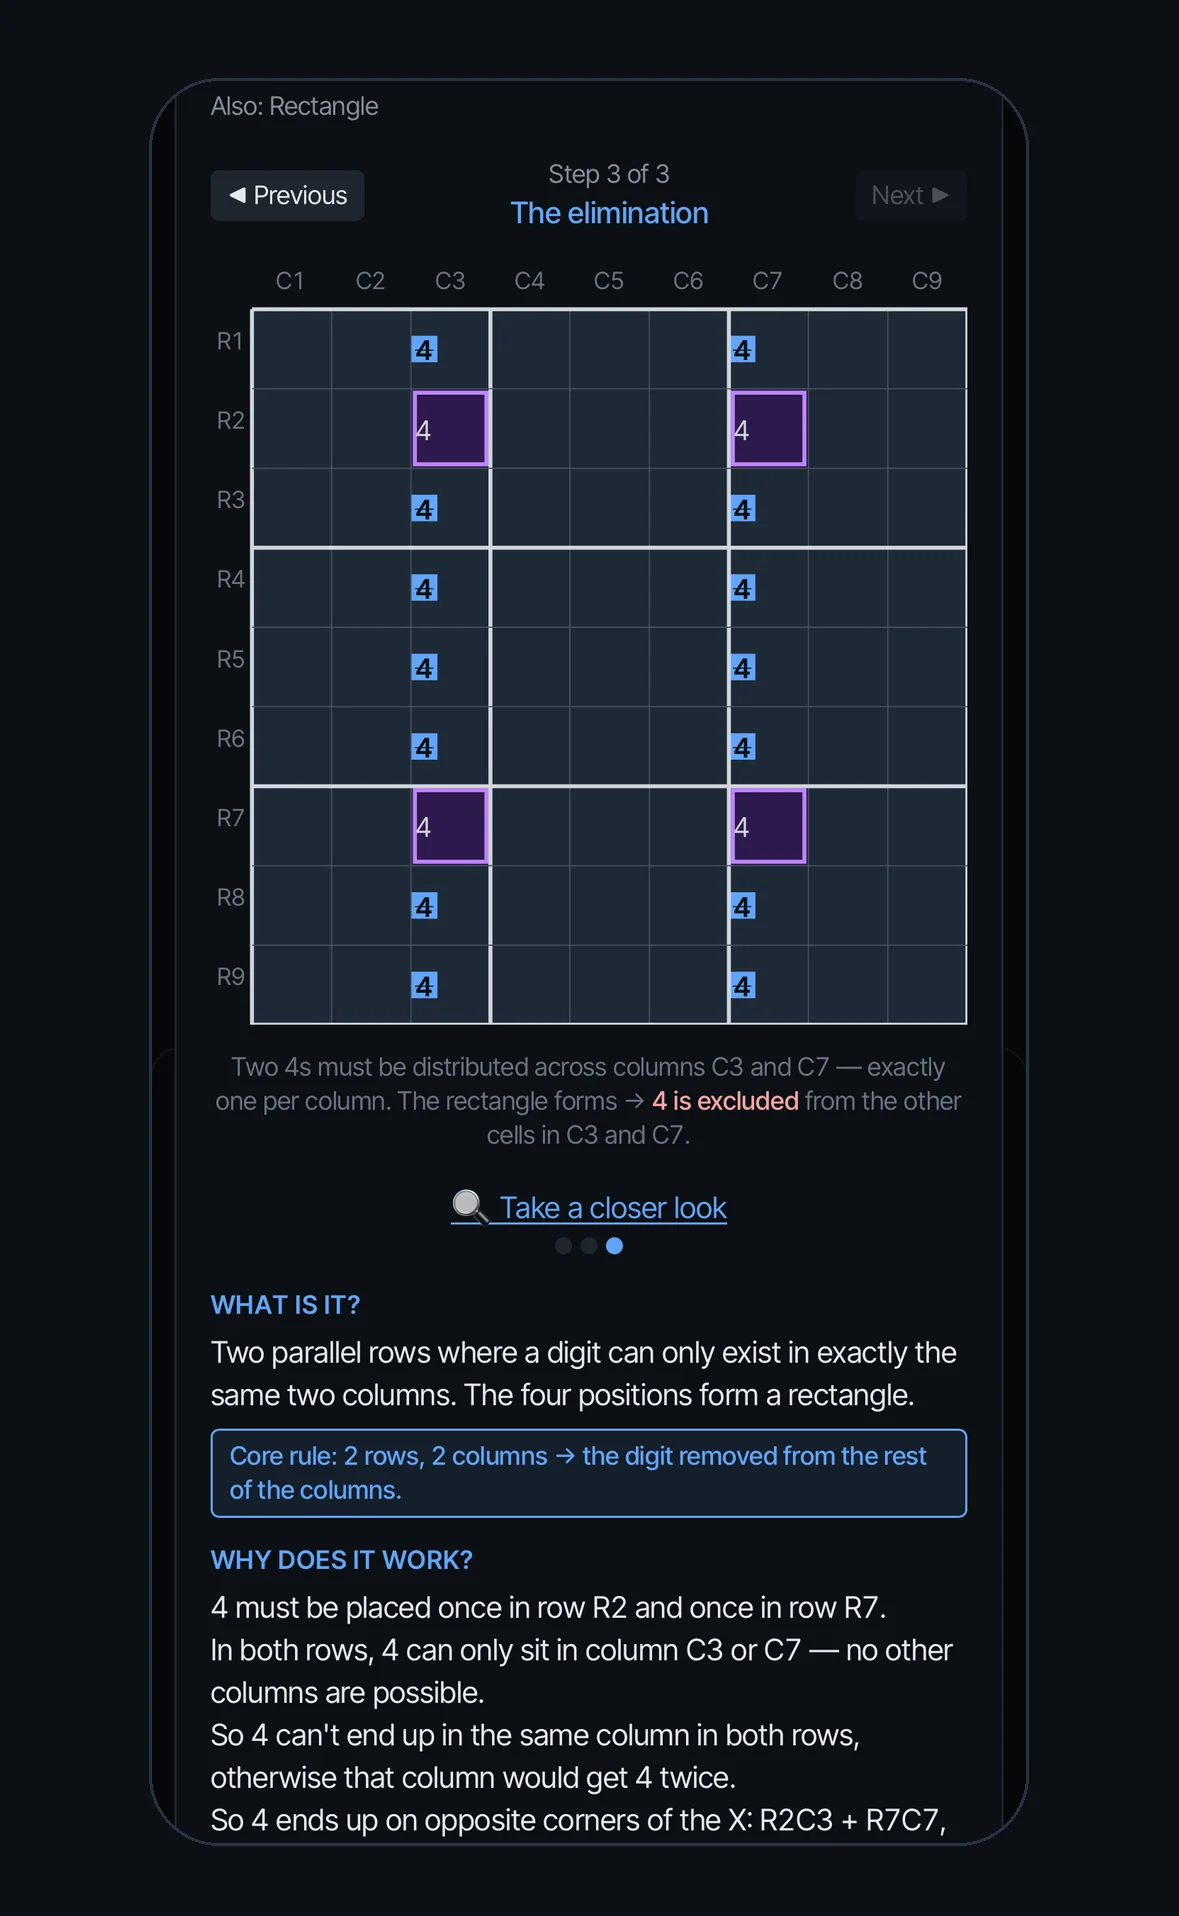
Before I go looking for the pattern on a real board, I open Explanation, the small “i” next to the hint. It is worth reading properly: what the pattern looks like, why it works and what it lets you eliminate. Each explanation starts with a short core rule and has a diagram.
Hunting for something you do not understand yet is just guessing with extra steps.
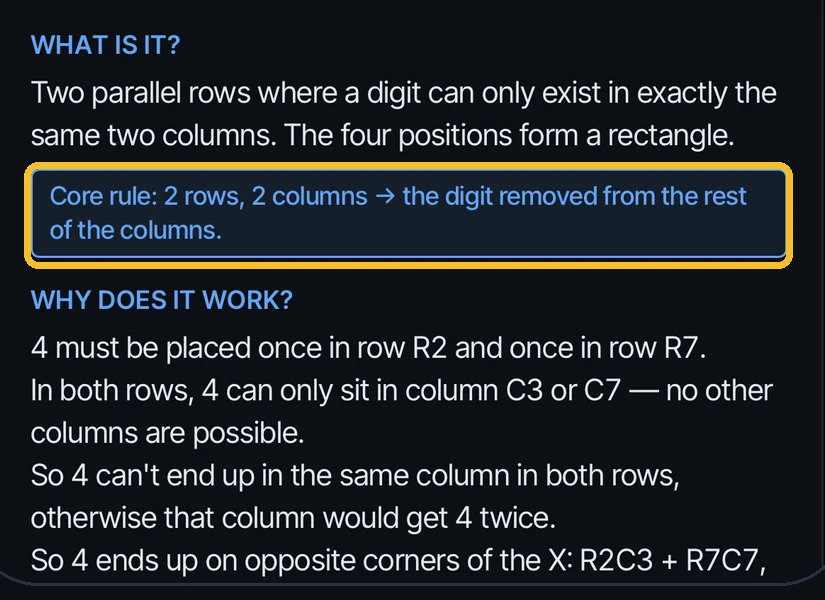
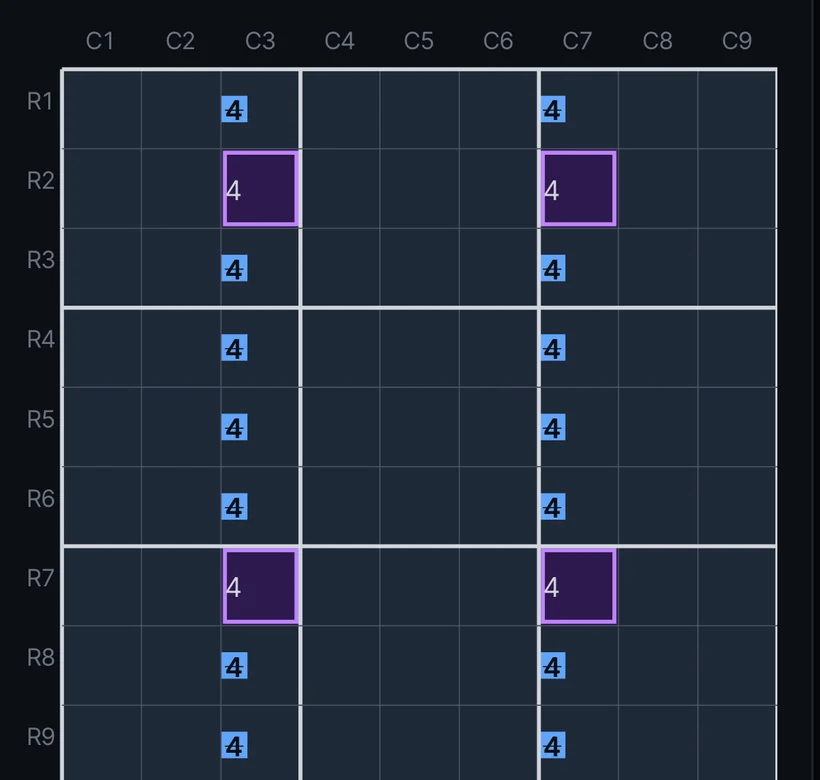
Reading the explanation of any technique is free.
Step 3
Sit with it first
Then I stop and actually think it through, sometimes with paper and a pencil, tracing the logic by hand: which candidates, which rows and columns, and why they lock together the way they do.
I do not rush to a puzzle. Skipping ahead to “just show me an example” skips the part that makes a pattern stick.
Step 4 Premium
Try it for real
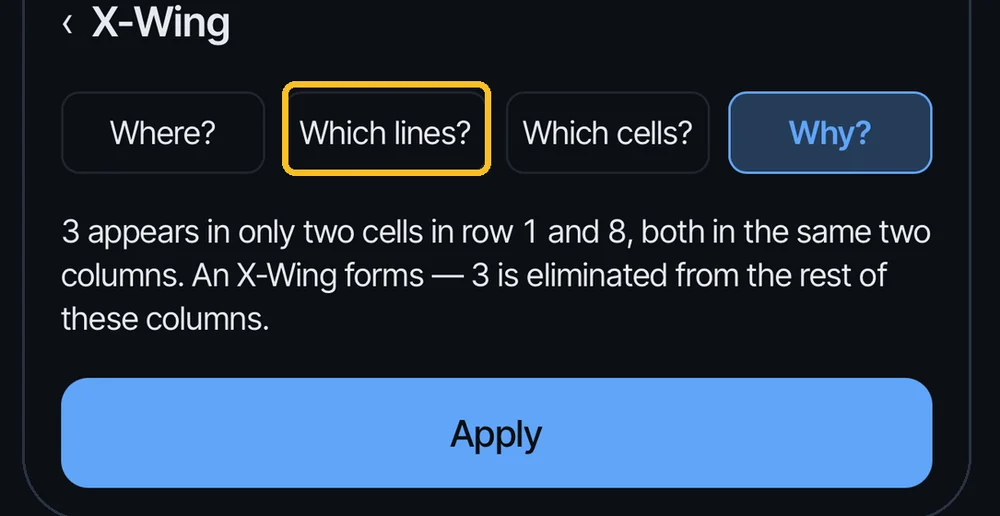
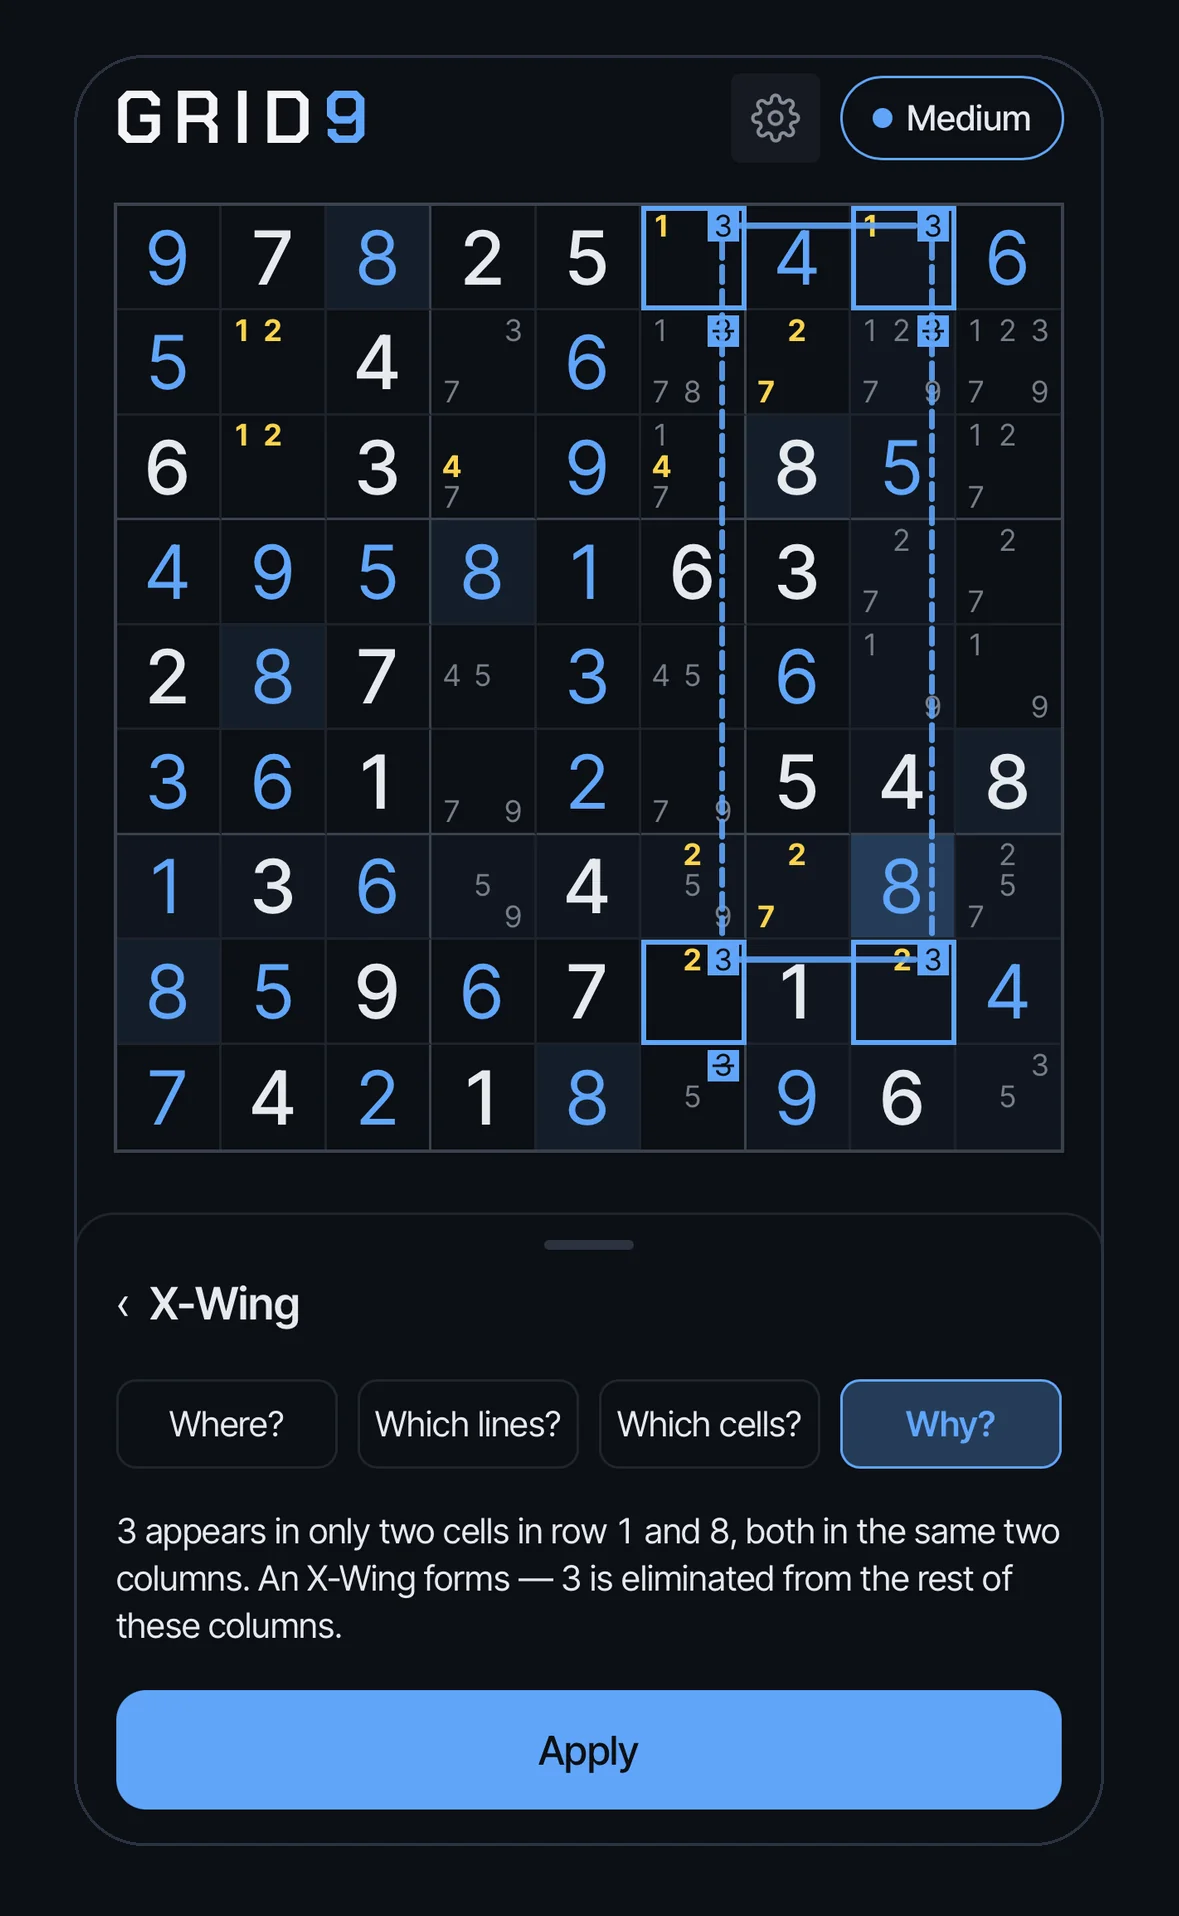
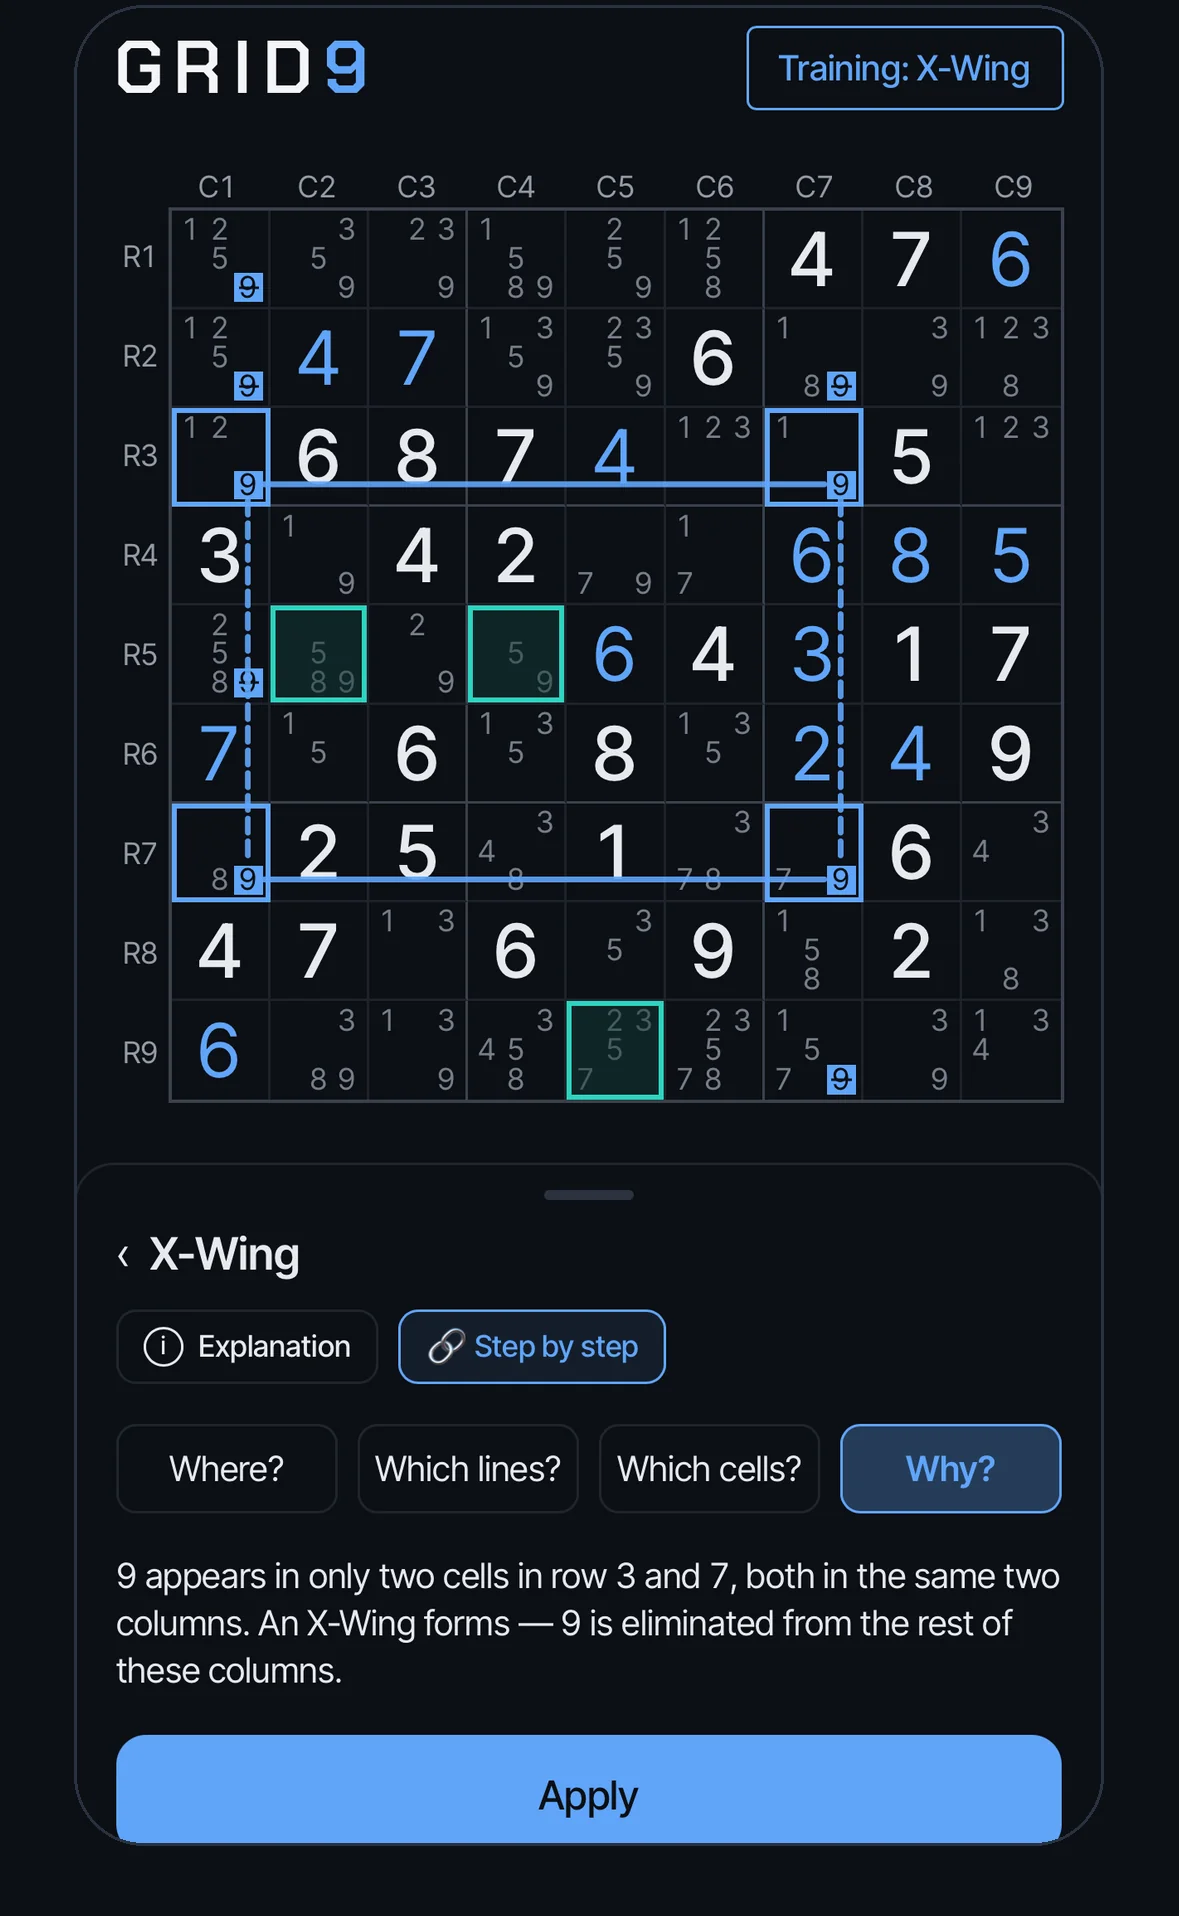
Only then do I bring it to a real puzzle. Grid9 gives me one where the technique is needed, with a badge showing which technique I am practising. I open the hint ladder and walk it down one rung at a time. Fish techniques such as Swordfish get an extra rung, Which lines?, before the hint narrows down to exact cells.
At each rung I try to actually look for the pattern myself before I tap through to the next one.
Step 5 Premium
Walk it through again
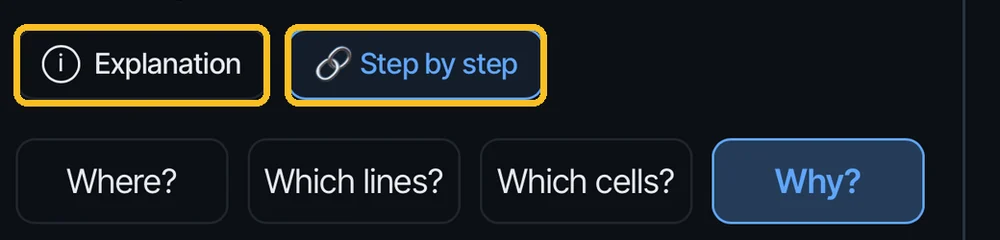
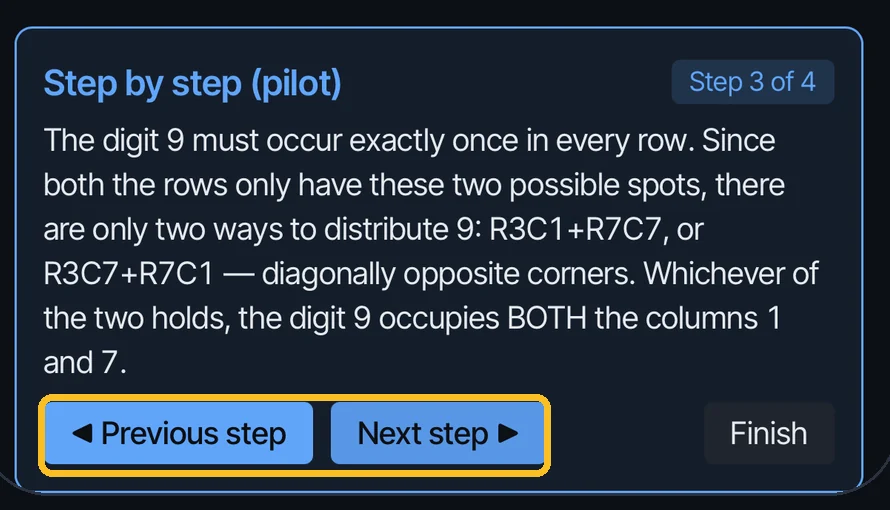
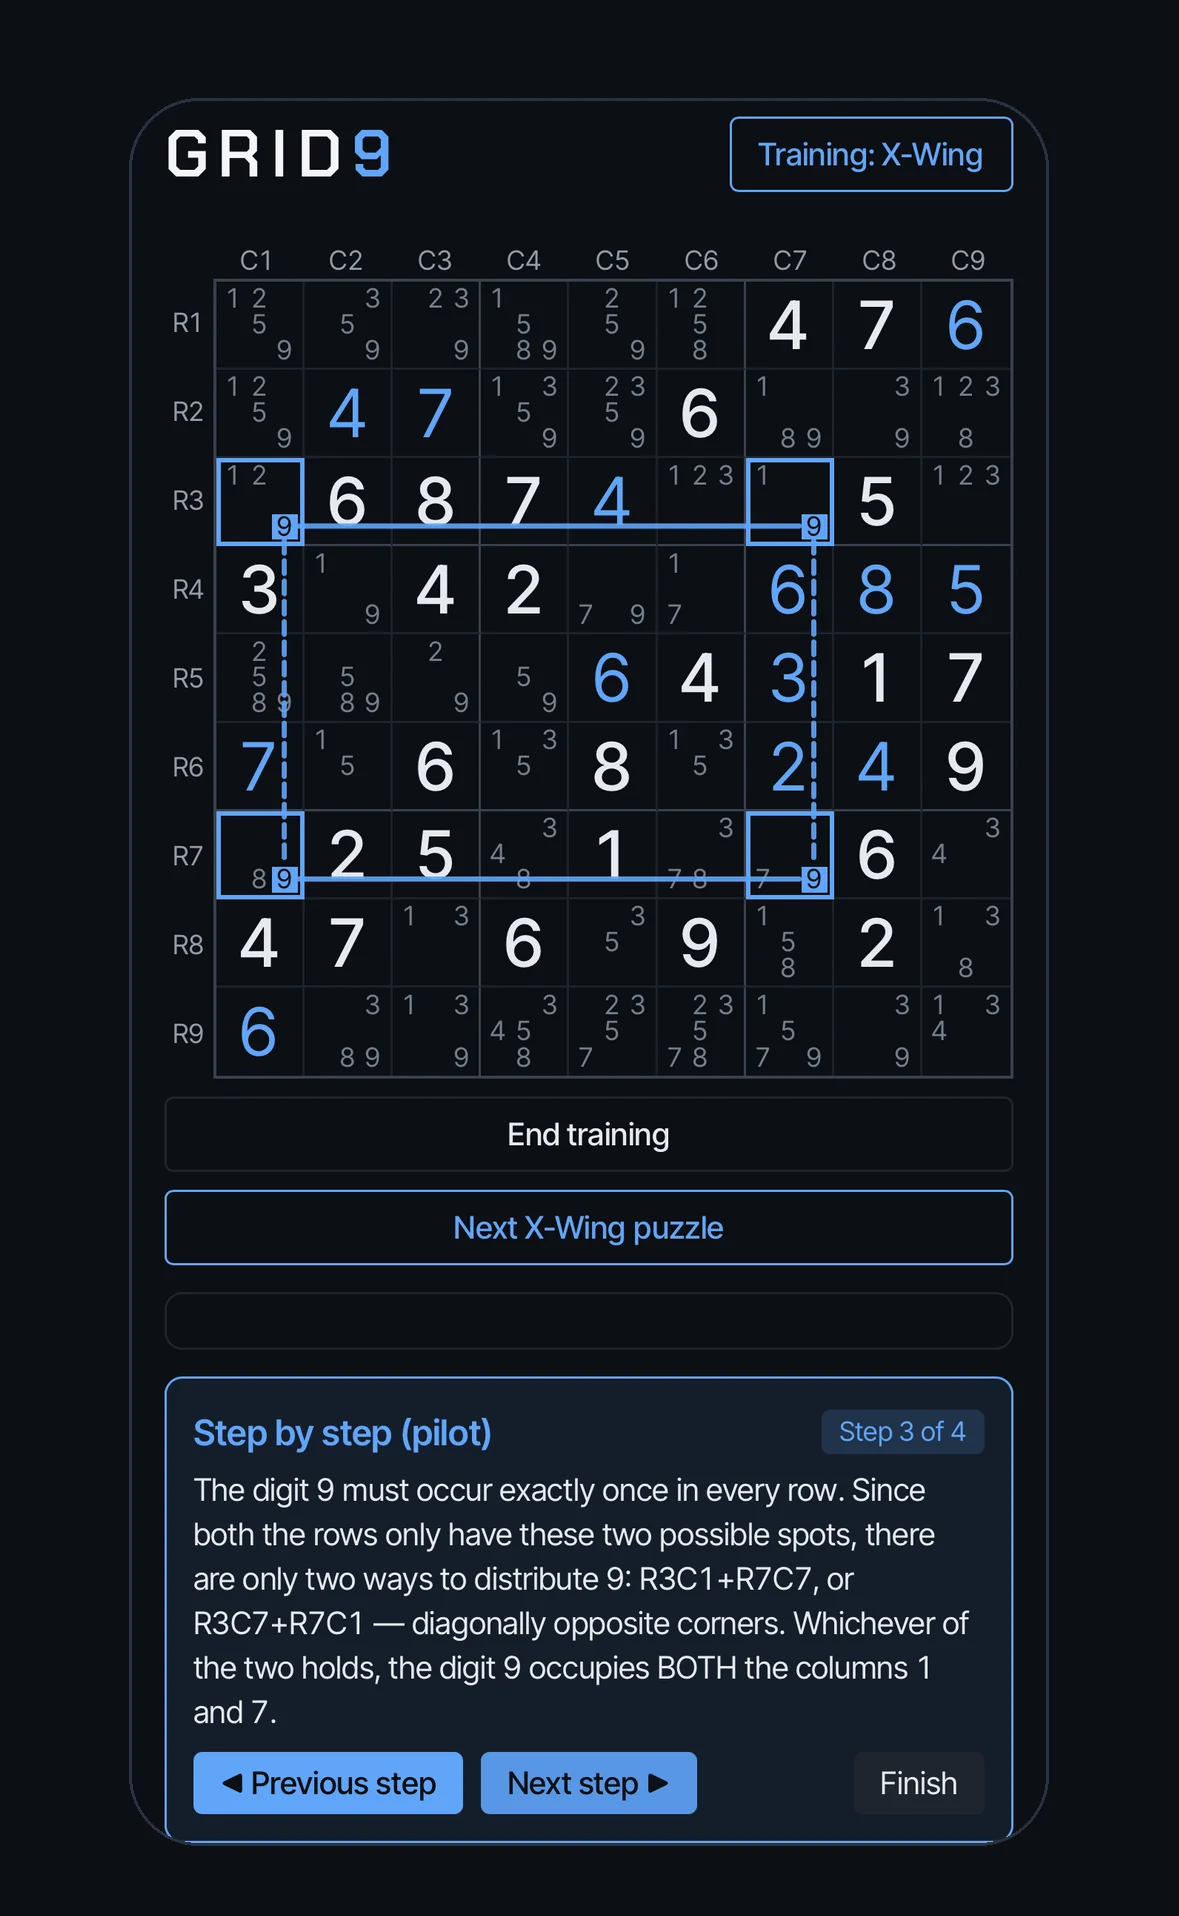
Once I have reached Why?, or even after I have applied the move, I tap Step by step. It is more pedagogical than the ladder: it walks the whole reasoning chain one link at a time, forwards and backwards. That is worth doing even when I already know the answer.
Lost the thread? Step back and watch the link again. Seeing why it is true is different from seeing that it is true.
Step 6 Premium
Do it again, a few times
Then I do it again: Practice technique… once more, same technique, a few more puzzles, until the shape stops feeling like a lucky find and starts to look familiar.
Some techniques take two puzzles to click and others take five. There is no fixed number, and no way to get it wrong by taking longer.
Step 7 Premium
Mark it yourself, then check
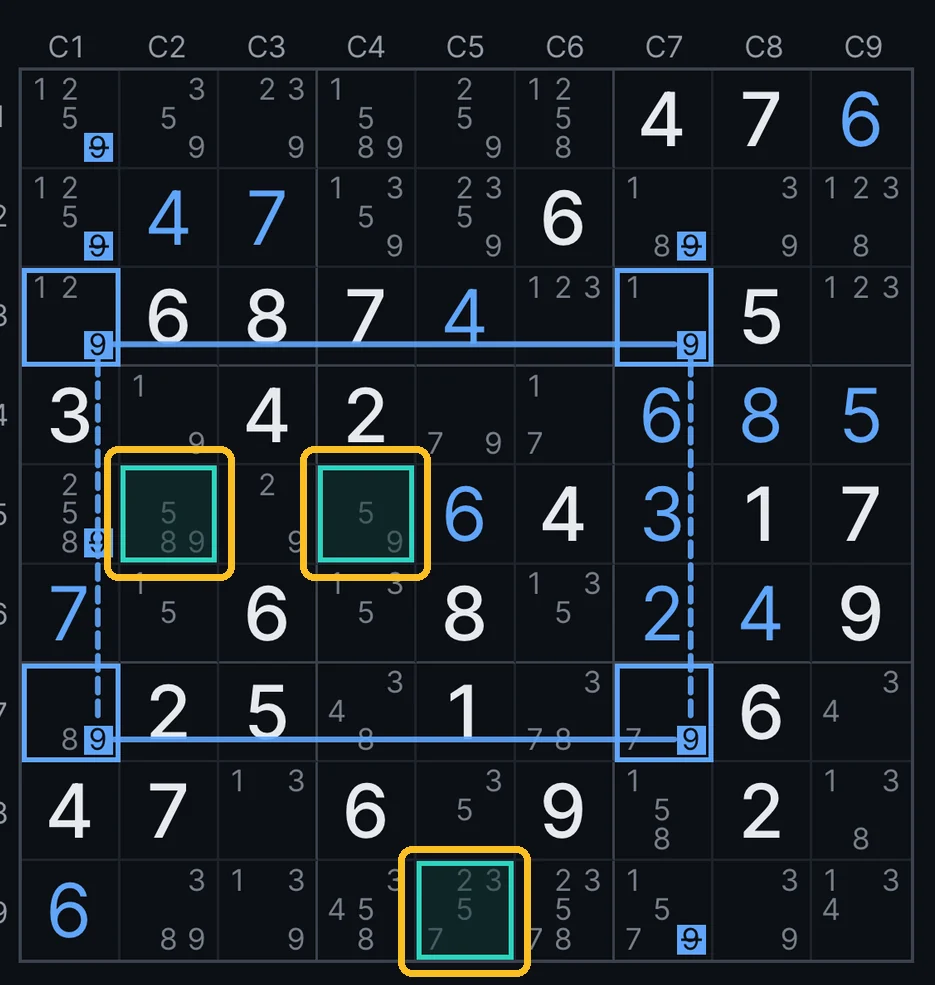
Eventually I flip it around. Before opening any hint, I tap the cells I think form the pattern. Practice mode remembers every tap as a soft highlight, with no commitment and easy to undo. Then I walk the hint ladder and see whether I was right.
Some puzzles hide more than one occurrence of the same technique. Two separate Swordfish in one grid is not unusual. I mark what I found, check it, and then go looking for a second one before I move on.
Step 8
One day you will just see it
There is no test at the end and nothing that marks a technique as done. You will know it worked the same way everything else in Grid9 works: mid-game, on some ordinary puzzle, you will just see it.
That is the point. Not finishing a guide, but folding one more pattern into how you already play, back in the regular Solving routine.
← Solving routine All guides App features →
Try it yourself
This guide is also built into the app, under the gear menu. Reading is always free.
Coming soon to the App Store