App features
A walk through the screen and the menu: what each part does, and which parts need Premium. You do not need to read it in order, every section stands on its own.
Step 1
Two kinds of candidates
Grid9 has two kinds of candidates, and understanding the difference is the key to playing efficiently.
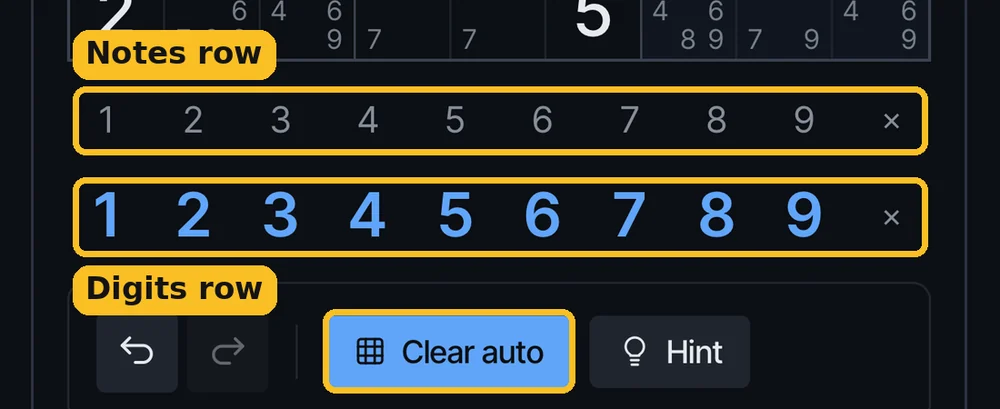
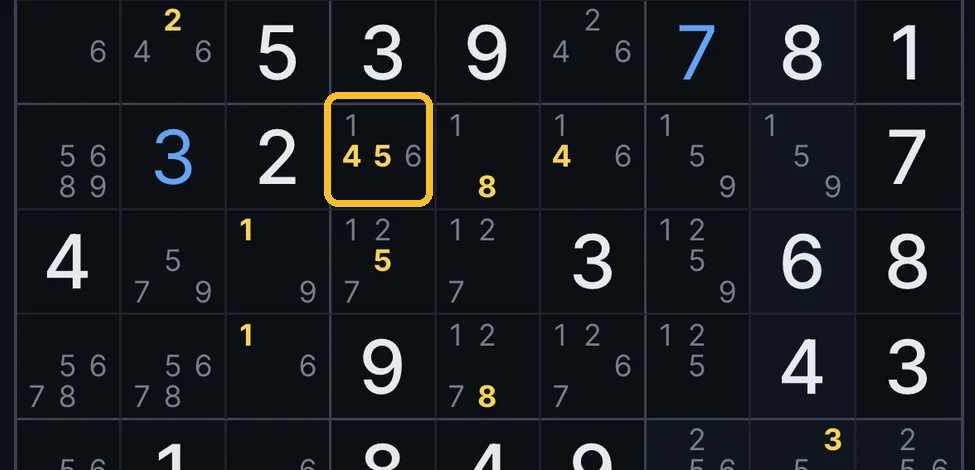
- Snyder notes (amber) are your own. Tap a number in the grey Notes row to note it (the blue Digits row below places the number itself). The idea, from Snyder notation, is to note a digit only when it has at most two or three possible places left in a row, column or box. That way the notes show patterns instead of drowning them.
- Auto candidates (grey) are every number that is still legal in a cell. Fill auto adds them, and the button changes to Clear auto to remove them.
my own notes13789Auto
everything still legal
Fill auto never removes candidates using a technique. It only computes what is possible from the numbers already placed. To eliminate with a technique you run it from the hint panel, which is where the learning happens. Your amber notes are never cleared by Fill auto or by running a technique, only by you or by Clear all candidates in the menu.
Step 2
The Info box and Show candidates
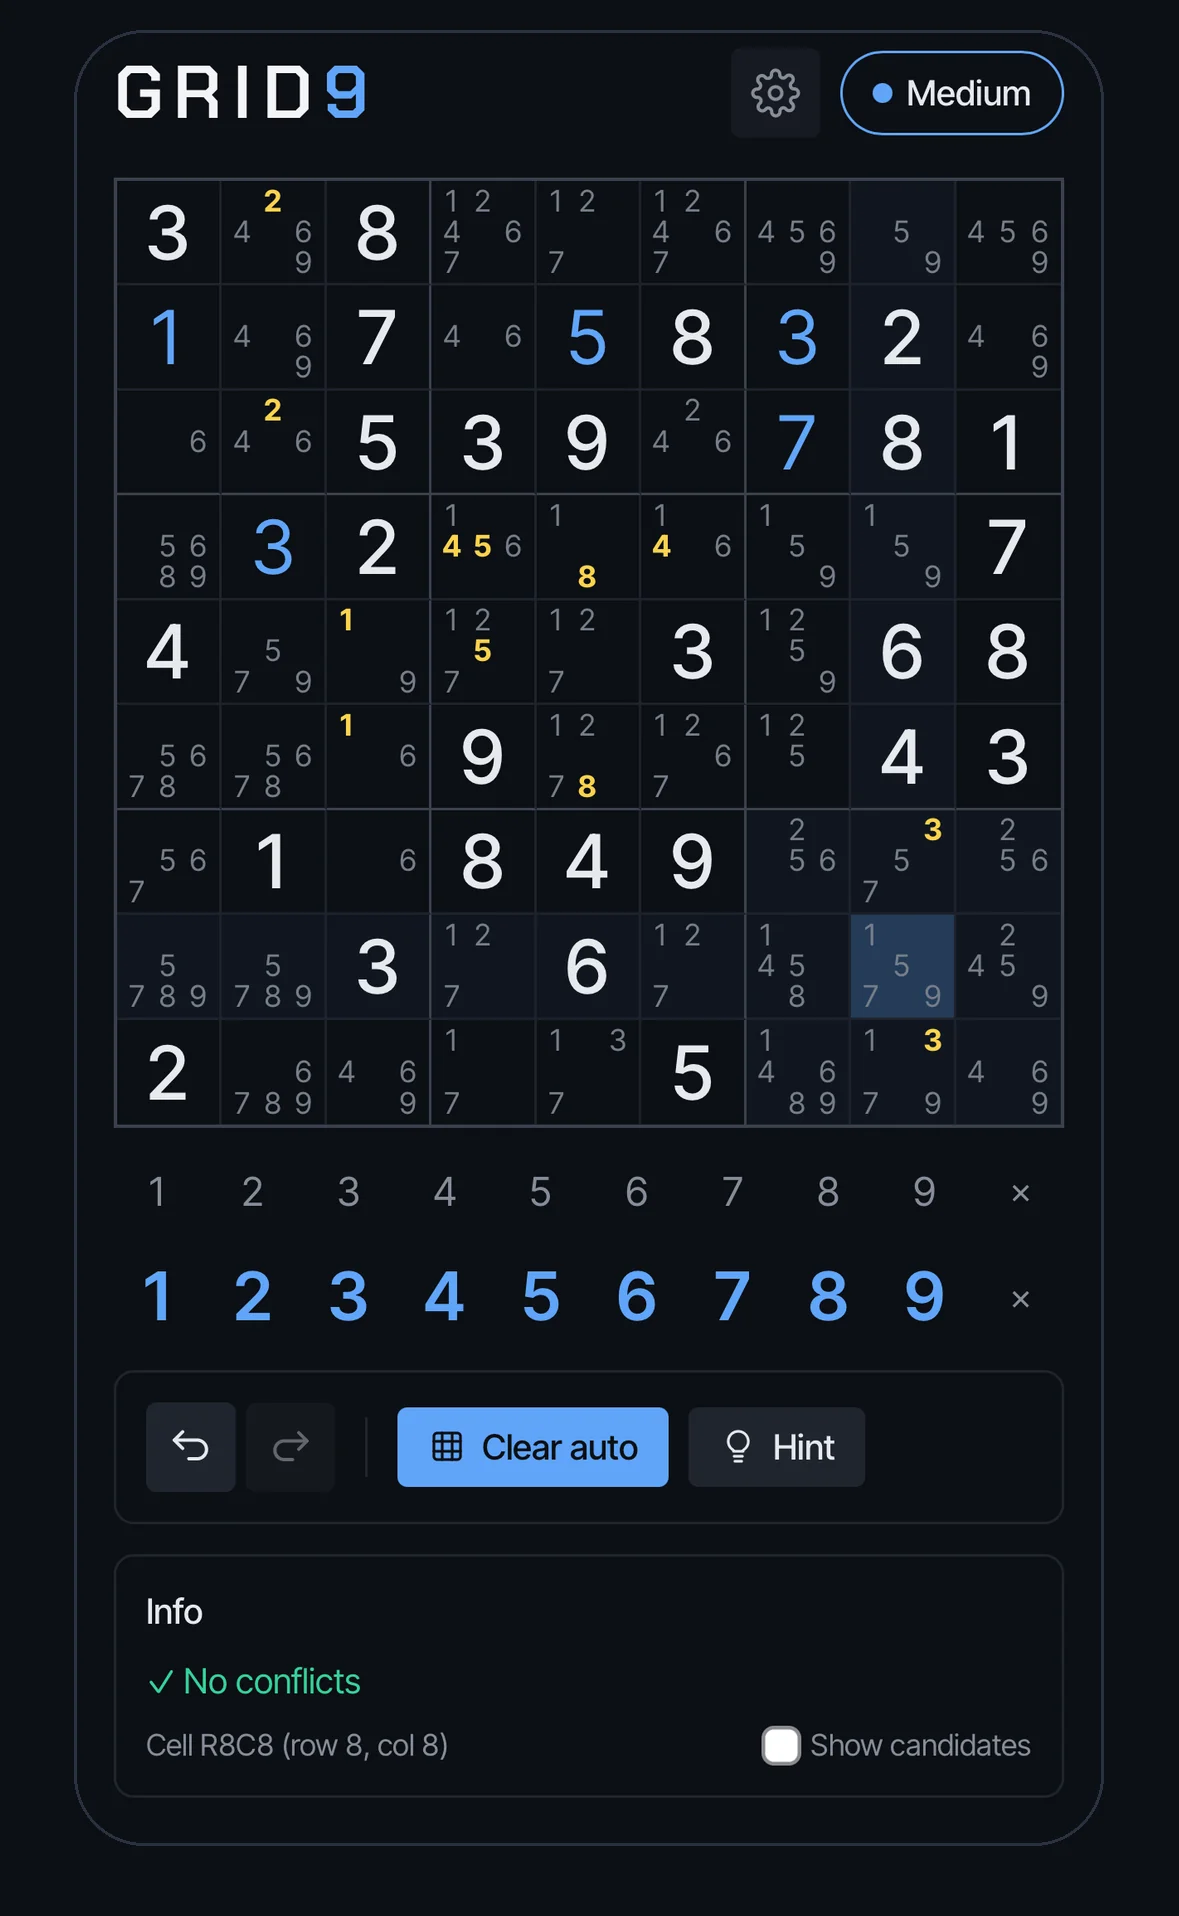
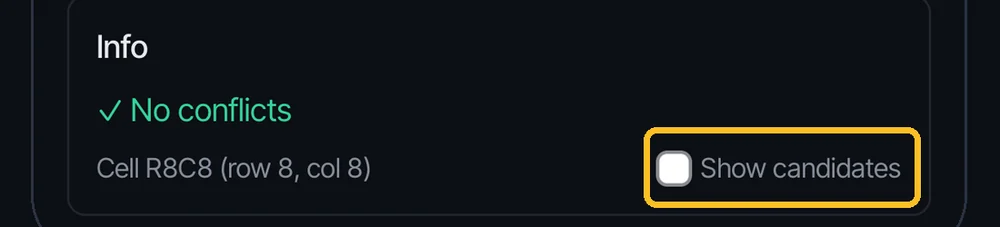
When you select an empty cell, the Info box under the grid says whether there are conflicts and which cell you are on. Its Show candidates checkbox lists exactly which numbers are still possible in that cell, a quick way to double-check your own reasoning.
That list only looks at the raw row, column and box rules. It does not know what you have crossed out or what a technique has eliminated, so after you have applied a technique it can list more numbers than there are open candidates in the cell.
Step 3
The hint panel: see what is available
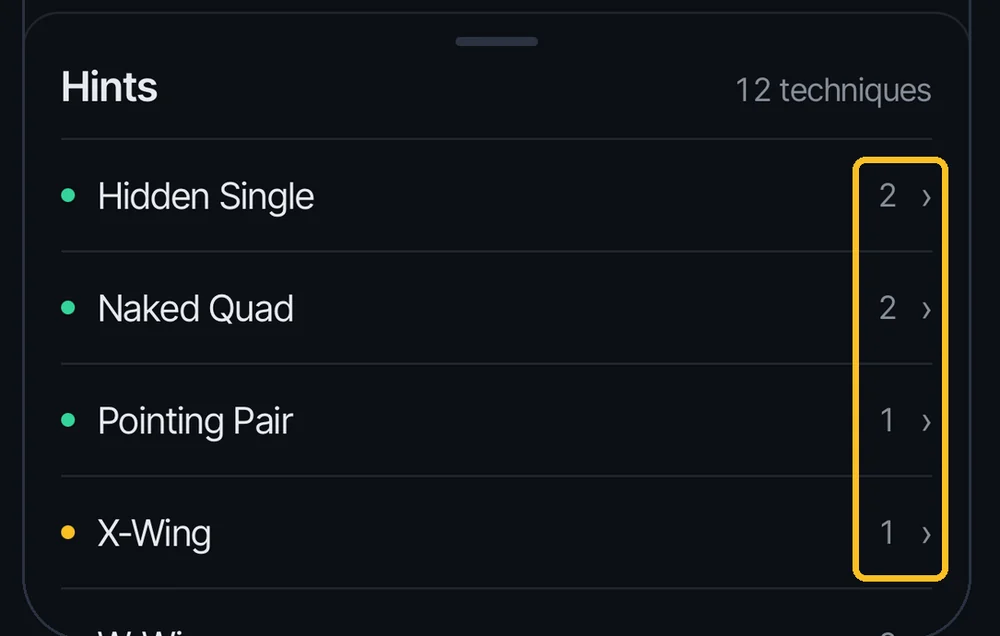
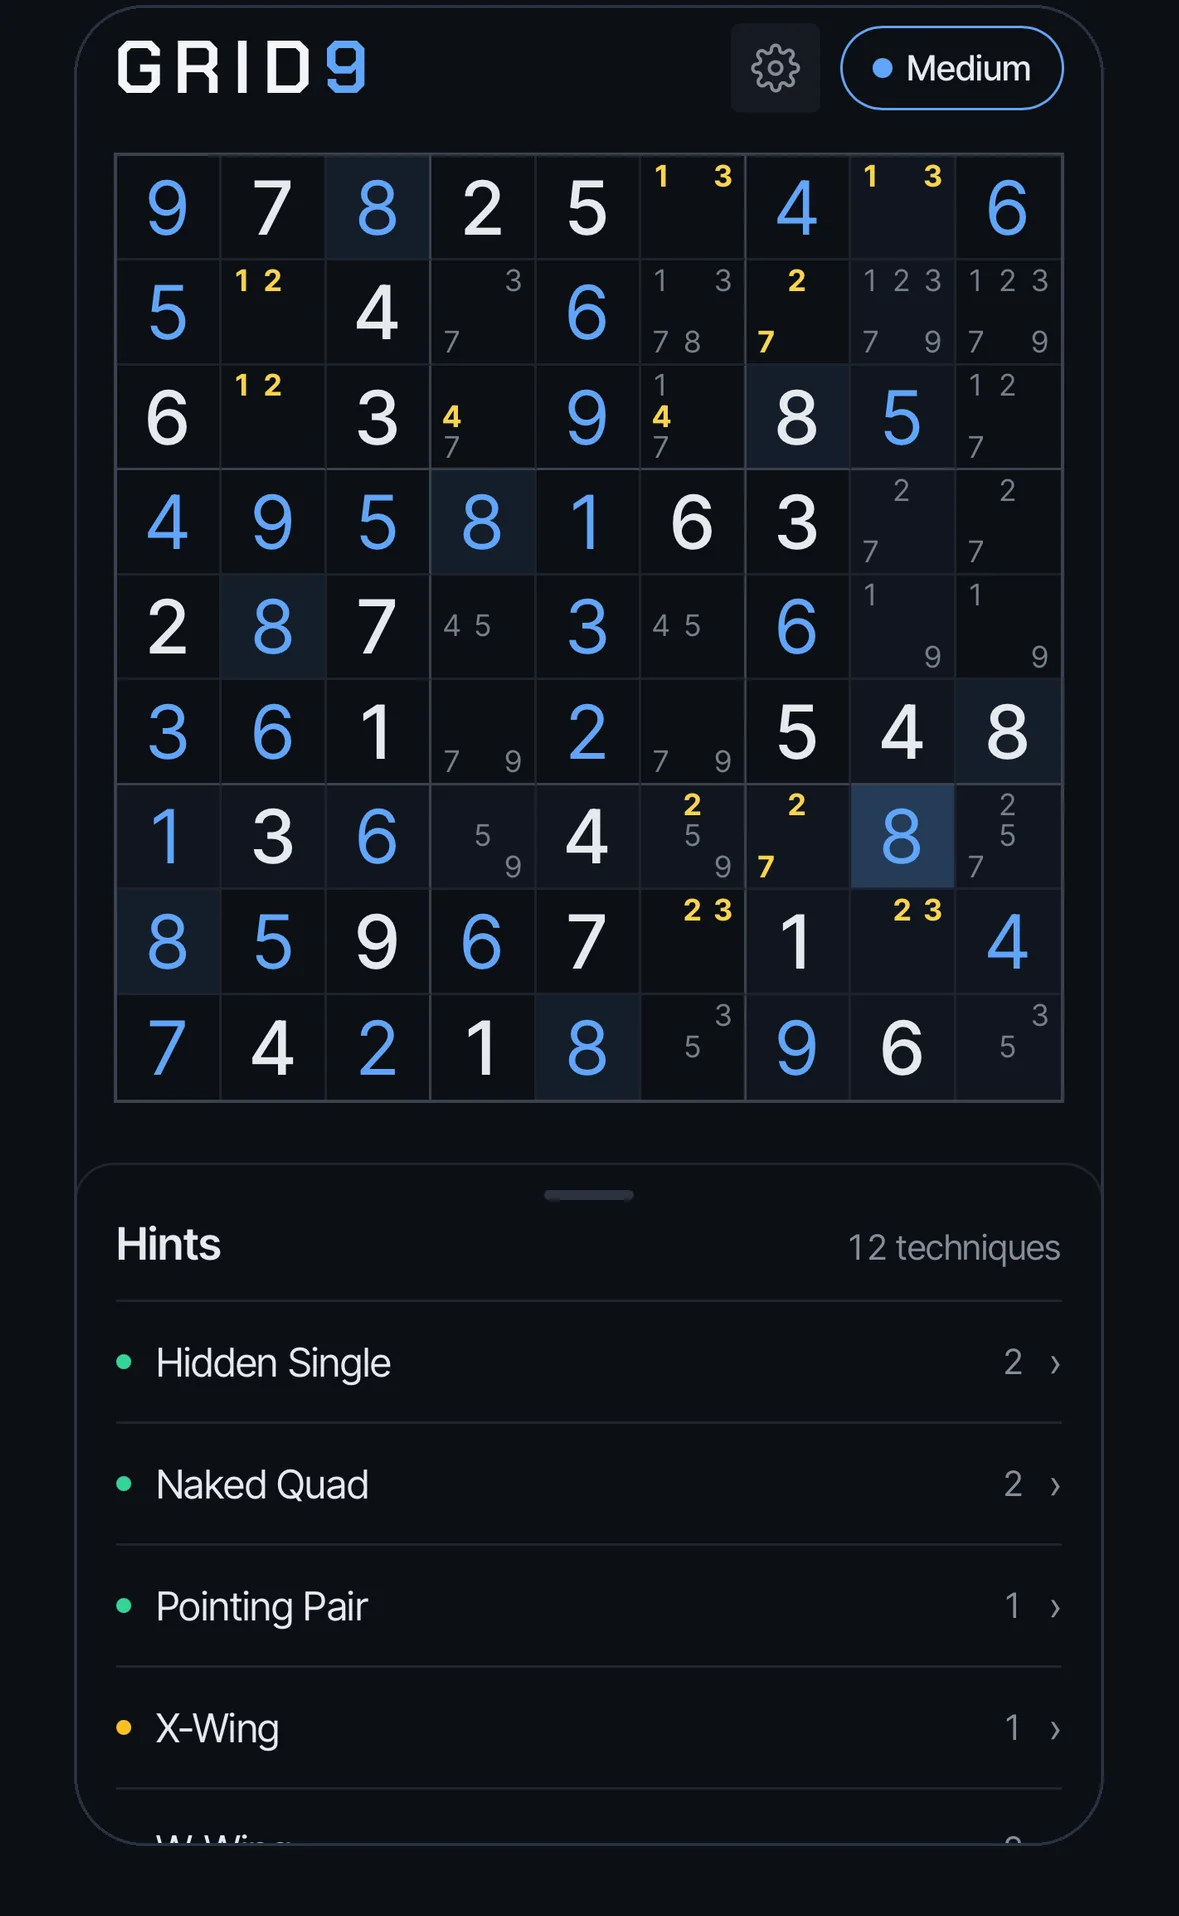
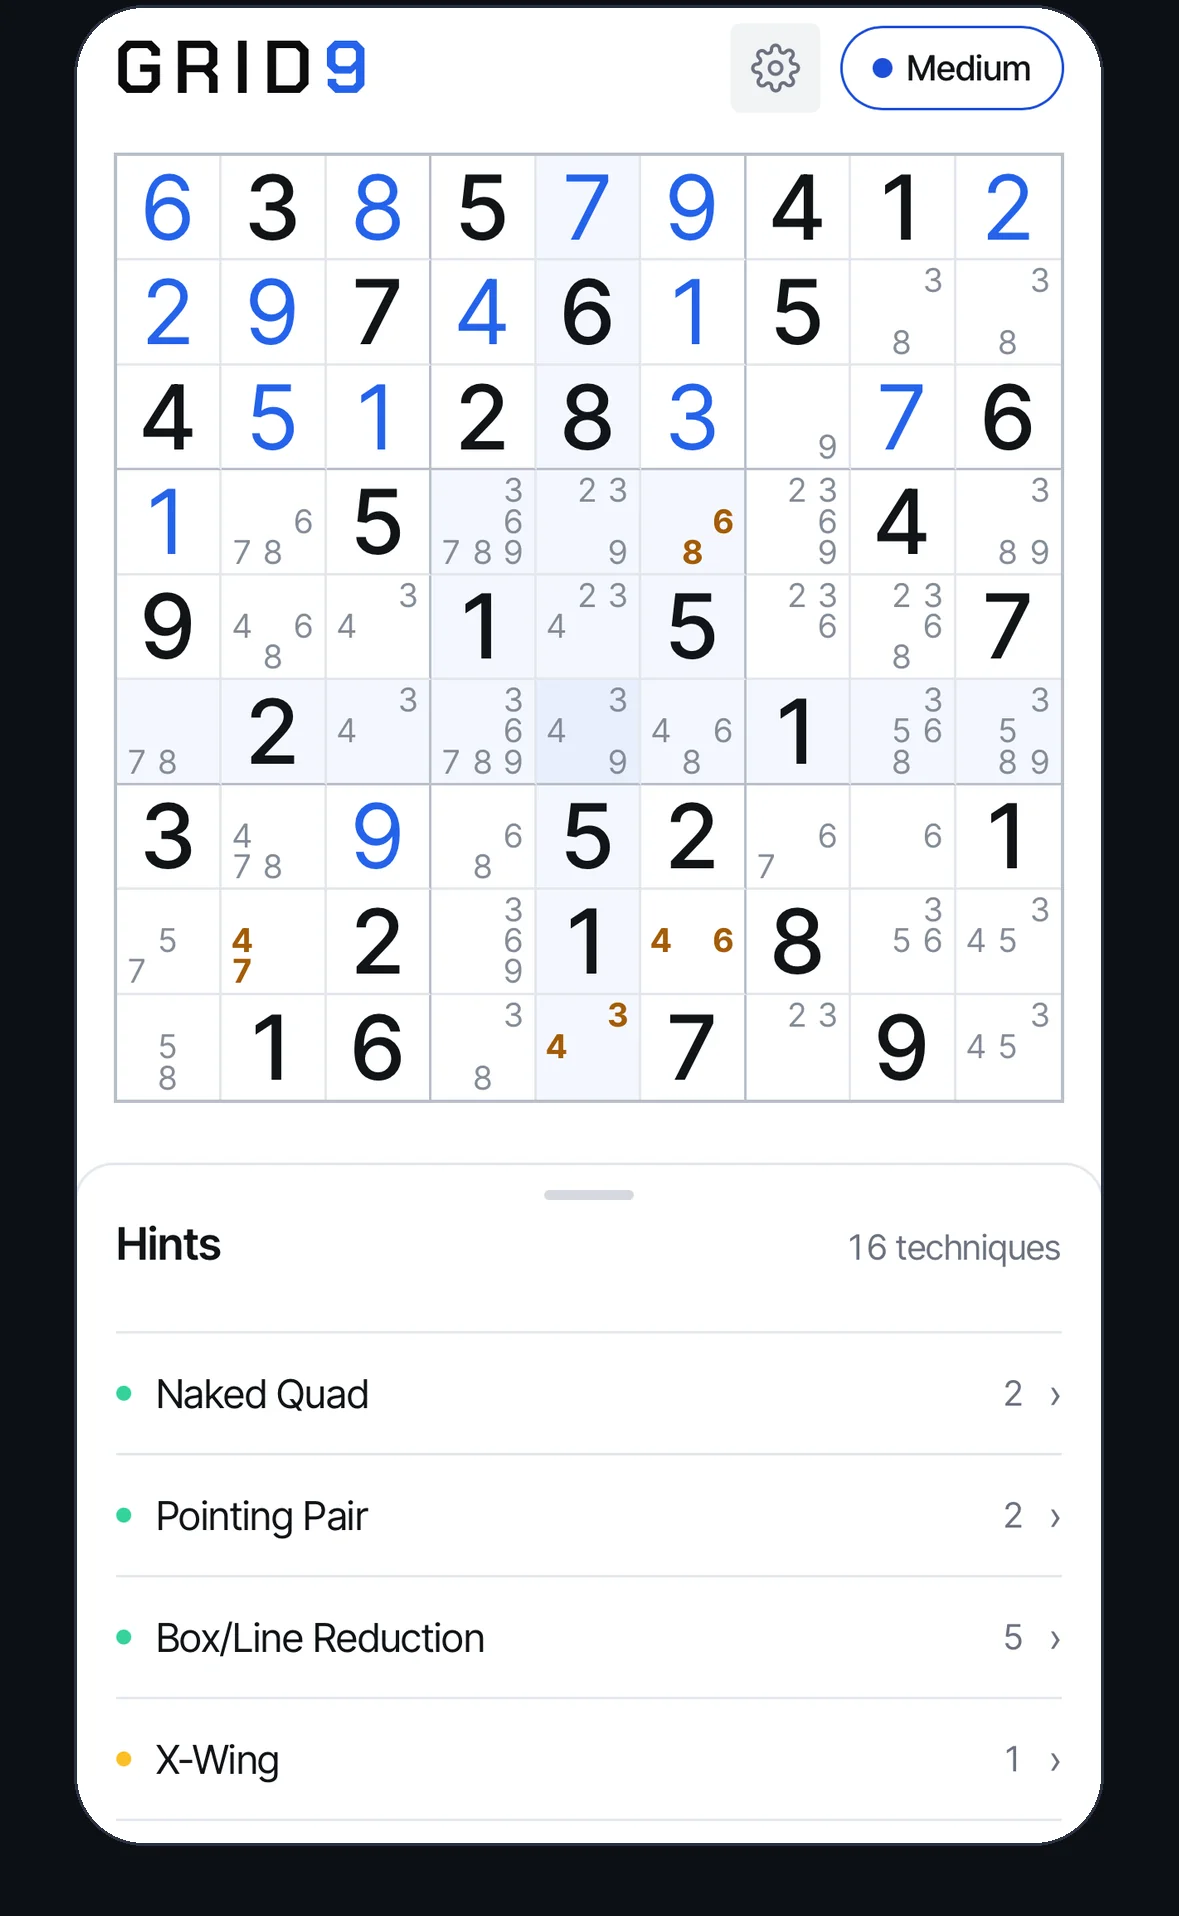
Tap Hint and a panel slides up from the bottom with the grid still visible above it. It lists every technique that has a hit in the current position, with a count, for example Naked Single 5, Hidden Single 2, Naked Pair 1.
It tells you what exists without telling you where. This overview is free.
Step 4 Premium
The step ladder: help in doses
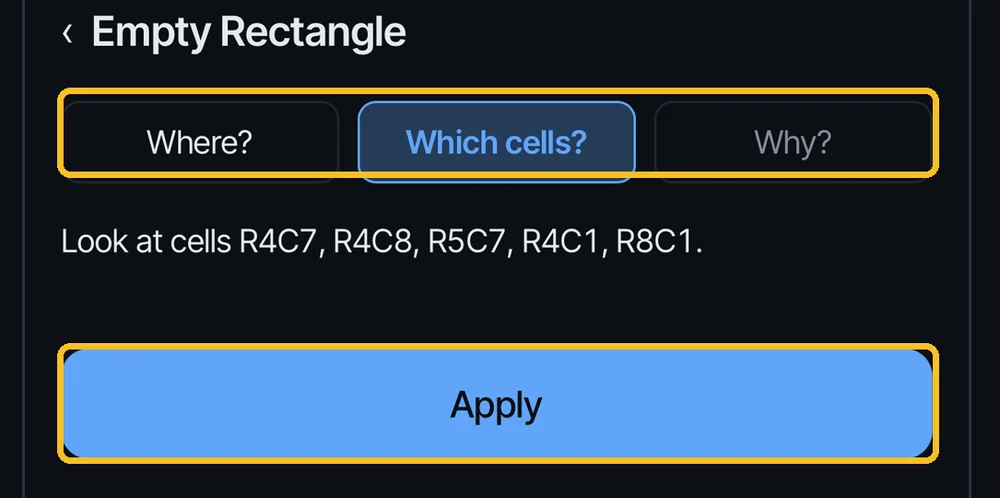
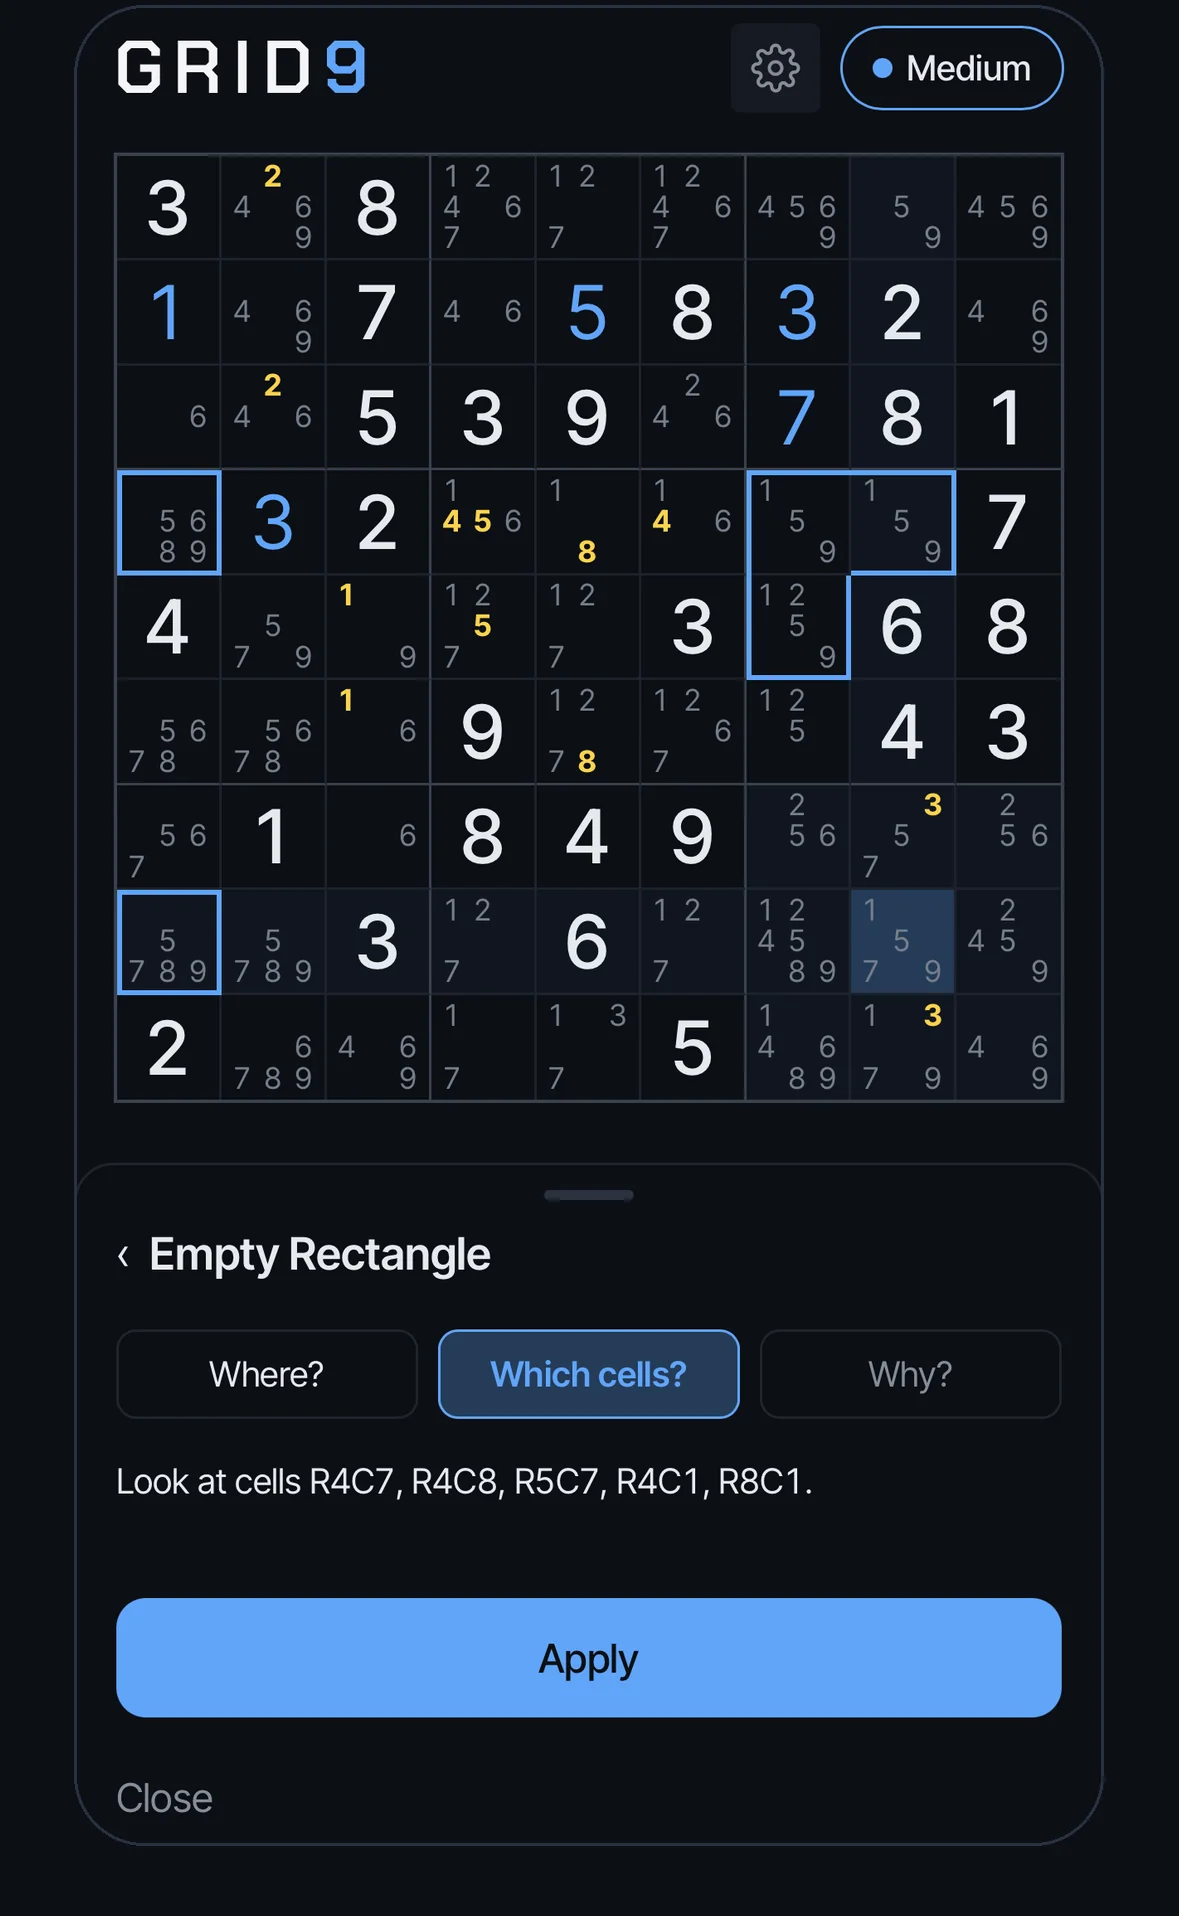
Tap a technique and its detail view opens with a step ladder. This is the heart of the app: each step gives a bit more help, and you decide how far to go before solving the rest yourself.
Two different ways to move around: the ladder gives different amounts of help for the same hit, and Apply carries the move out. Next hit does something else: it jumps to the next occurrence of the same technique on the board, if there is more than one.
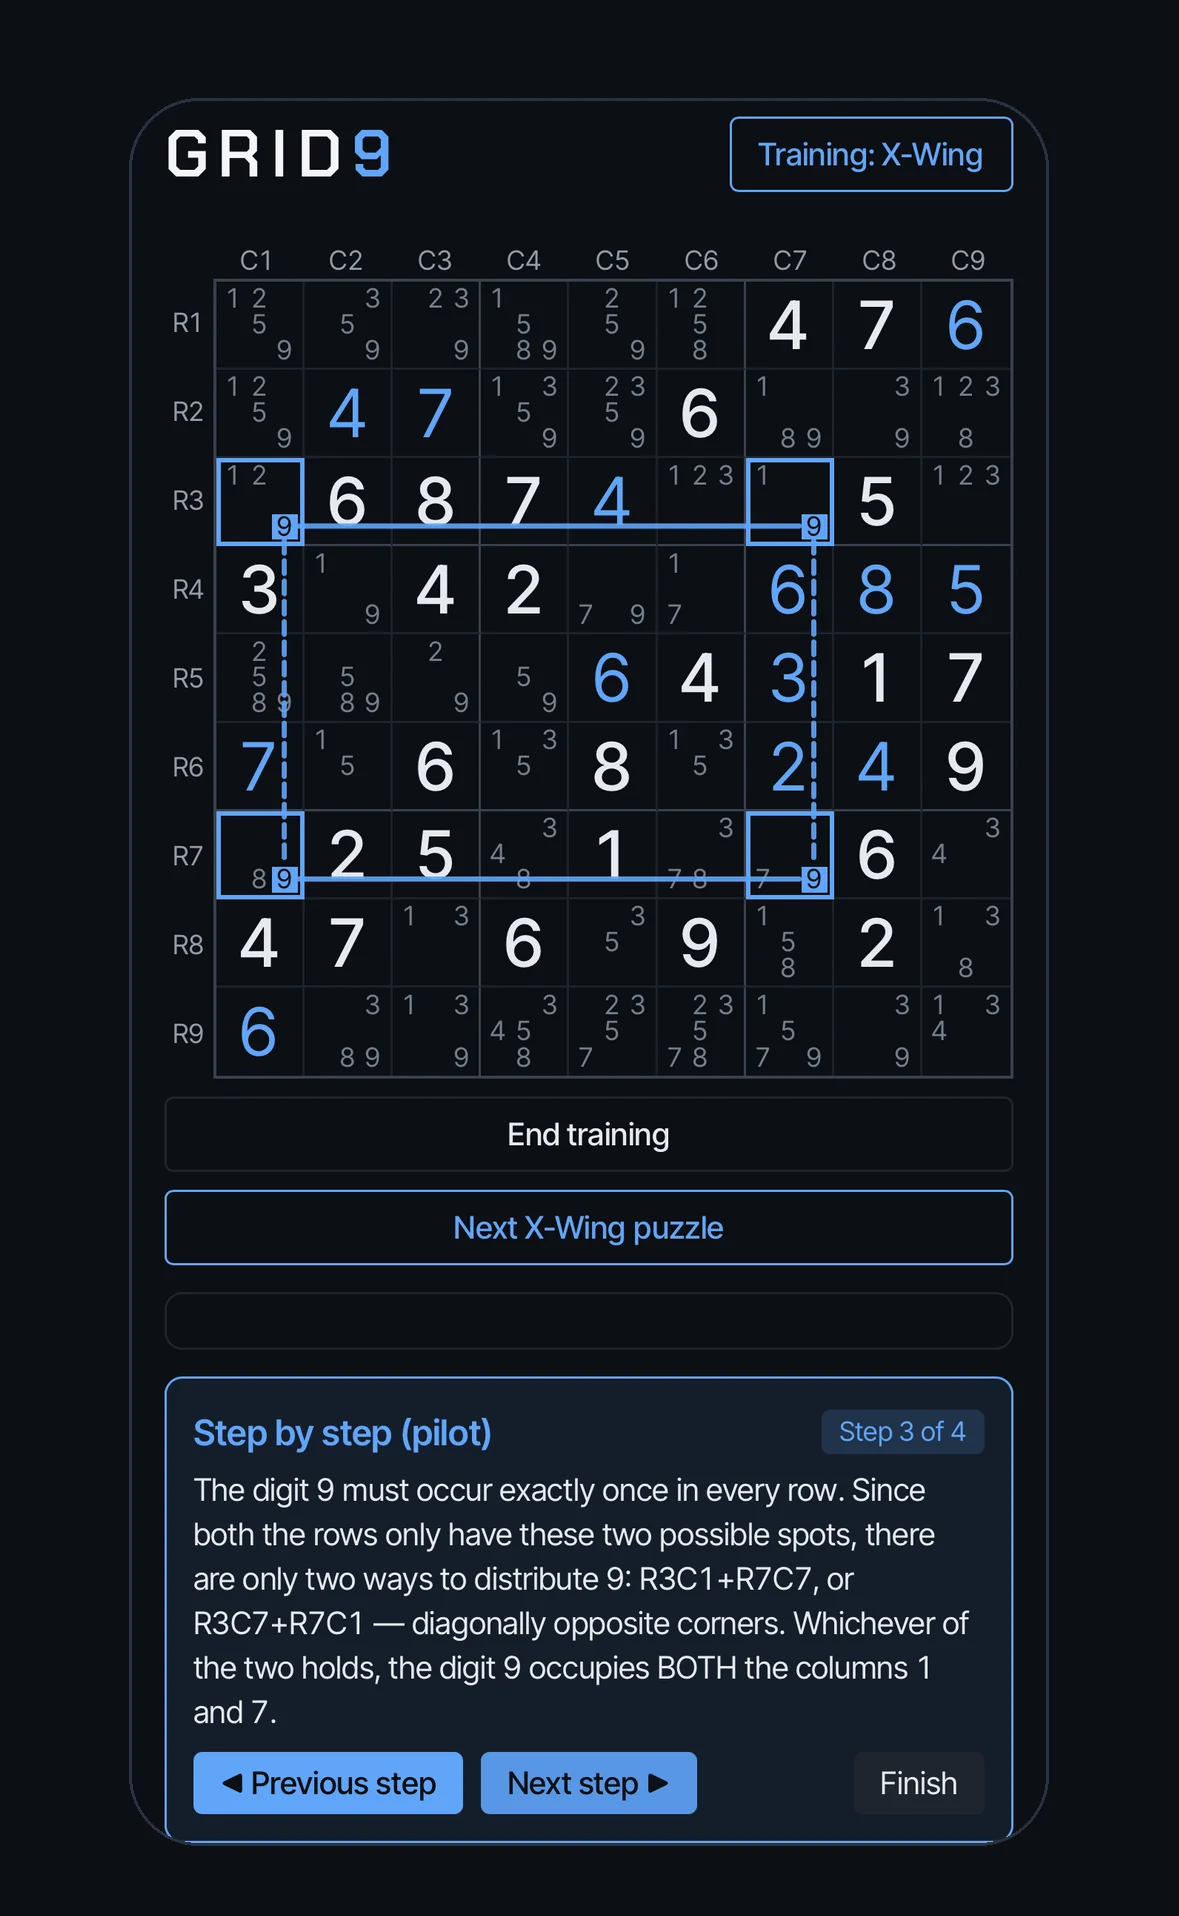
Hints are drawn the same way for every technique. A solid outline marks the pattern, a dashed outline with a struck-through digit marks what can be removed, and for geometric techniques such as X-Wing, lines between cells show the shape.
Step 5 Premium
Practice mode and Step by step
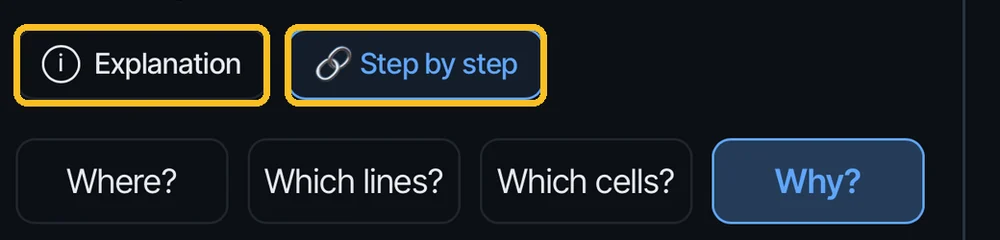
Choose Practice technique… in the gear menu and Grid9 gives you a puzzle where that technique is needed. Two buttons appear above the ladder:
- Explanation is the full write-up of the technique with diagrams. Reading it is free.
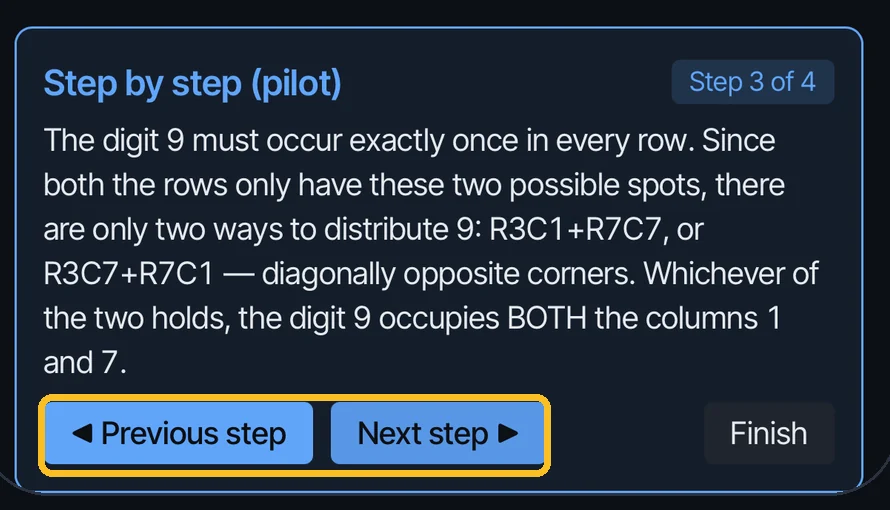
- Step by step walks the exact reasoning chain one link at a time, forwards or backwards, instead of only showing the end result.
For a full guide to using it, see Learning a strategy.
Step 6
Multi-select
Drag a finger across several cells to select them all at once. Whatever number or candidate you then type is applied to every selected cell at the same time. It speeds up writing the same note into a row or a box.
Step 7
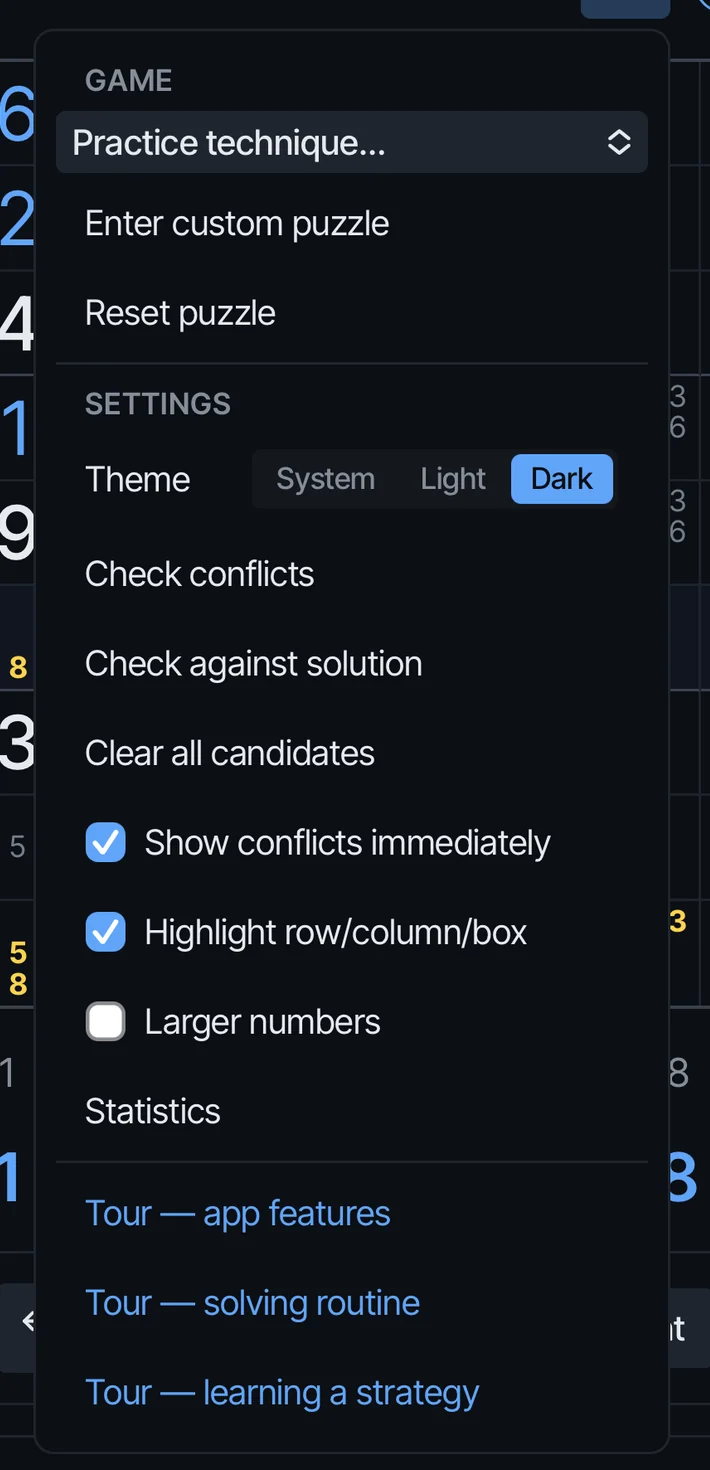
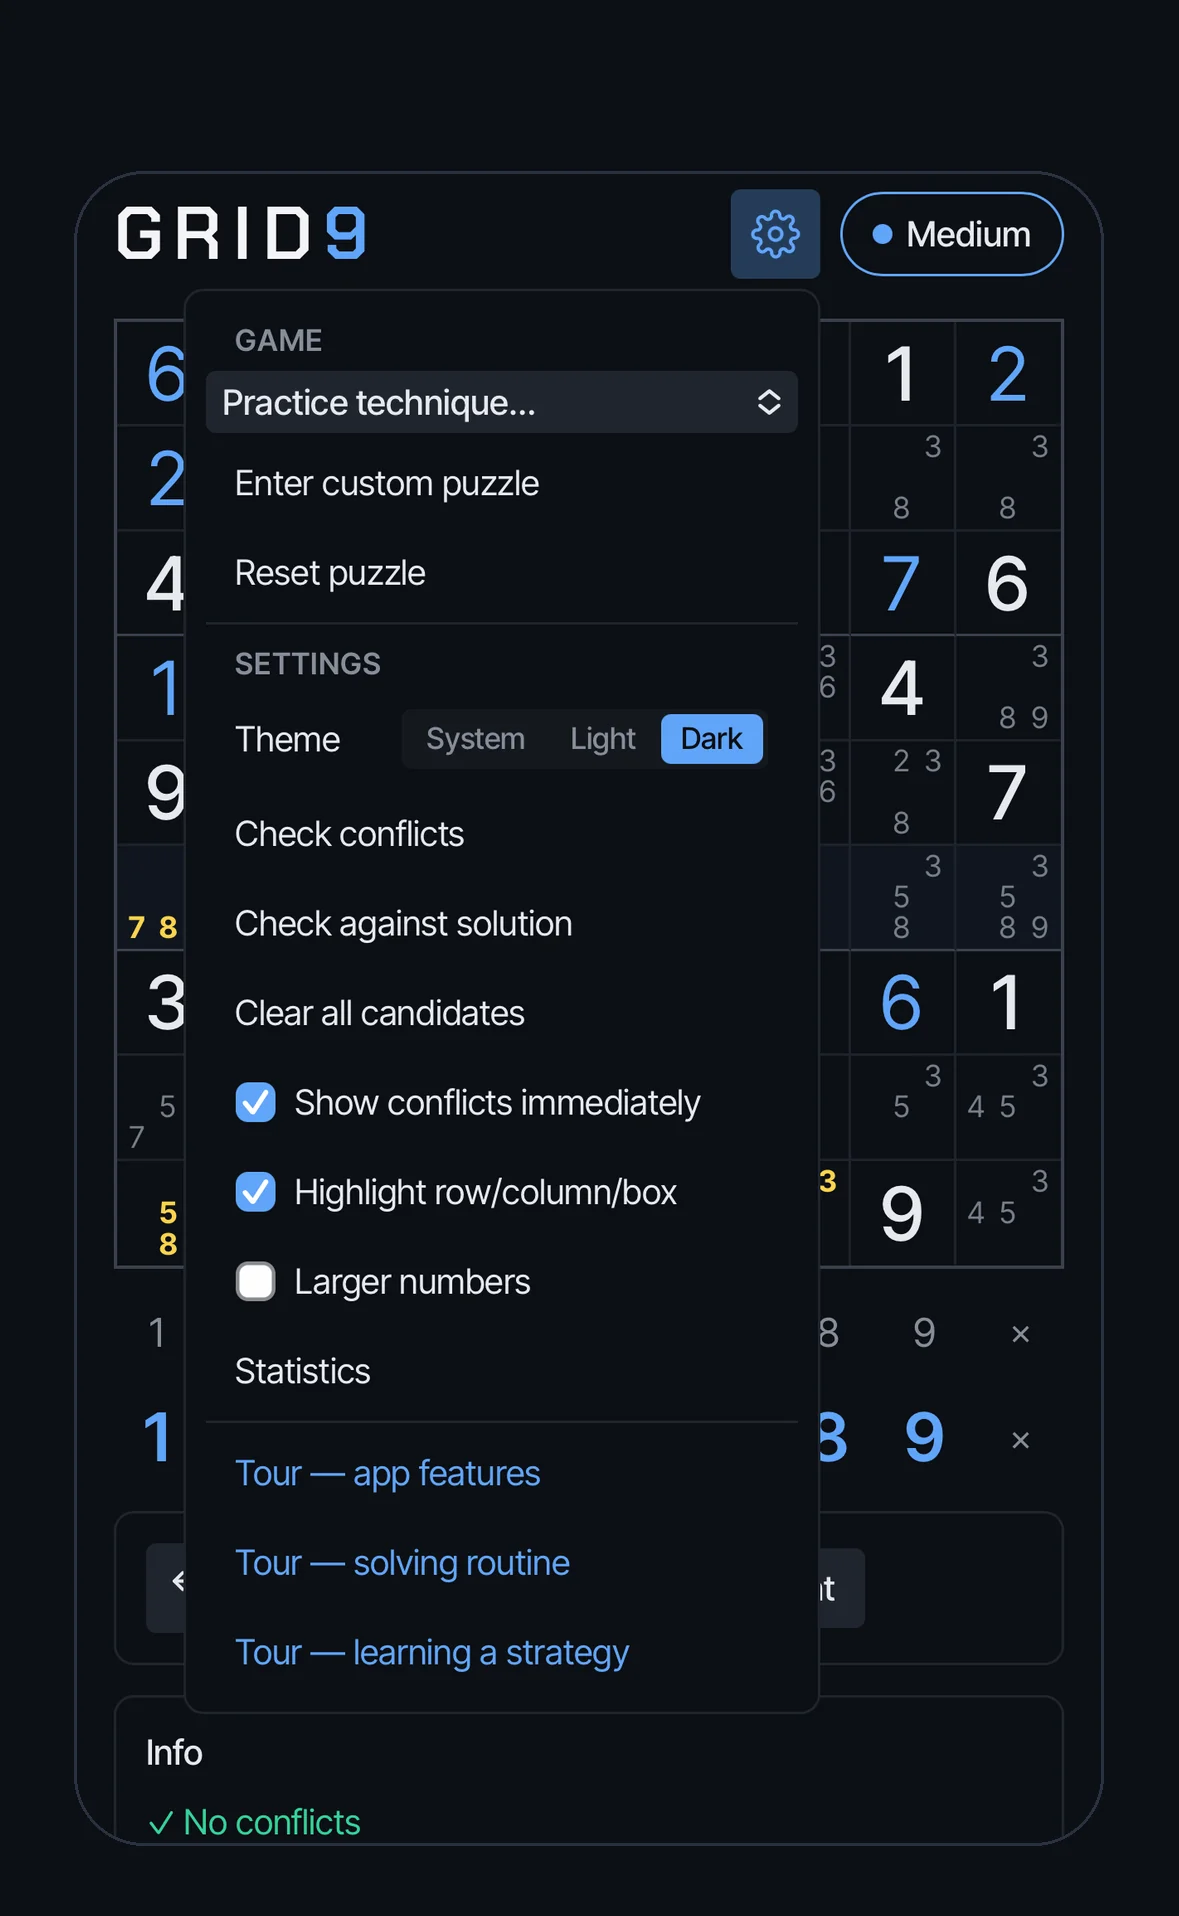
The gear menu
Everything else lives in the gear menu in the top corner.
- Practice technique… opens the technique list, where you choose what to practise (Premium).
- Enter custom puzzle lets you type in your own (Premium). See Custom puzzles.
- Reset puzzle takes the puzzle back to its starting position.
- Theme chooses System, Light or Dark.
- Check conflicts finds numbers that clash in a row, column or box.
- Check against solution marks every number you placed that differs from the puzzle’s solution, and says how many are wrong.
- Clear all candidates removes all notes and automatic candidates.
- Show conflicts immediately highlights clashes as you type instead of when you ask.
- Highlight row/column/box tints the selected cell’s row, column and box. Turn it off for a cleaner grid.
- Larger numbers makes both digits and candidates bigger.
- Statistics opens your statistics. See Statistics.
- Tour entries open the three guides built into the app.
Step 8
Comfortable to read
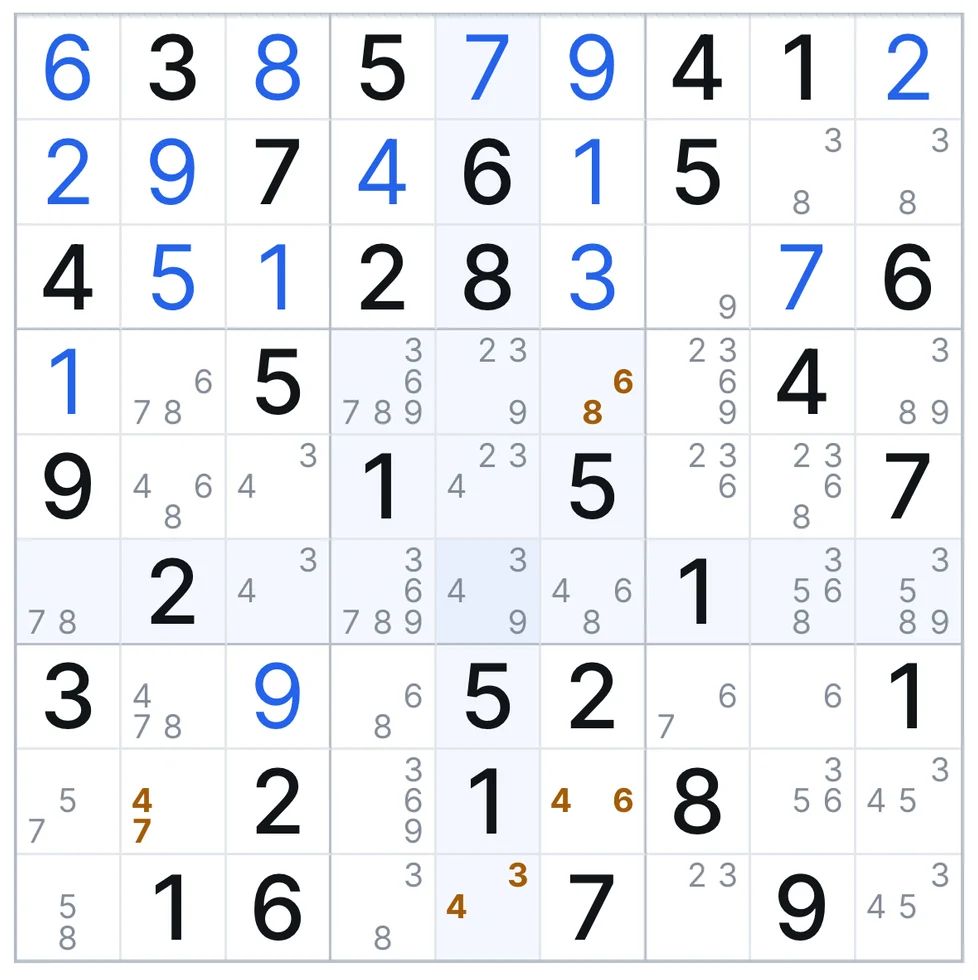
Light and dark themes follow your device or can be forced either way. Larger numbers scales up both the digits and the candidates, for easier reading in a dim room or without glasses. Both can be switched at any time without losing your position.
Step 9
Mistakes and solved puzzles
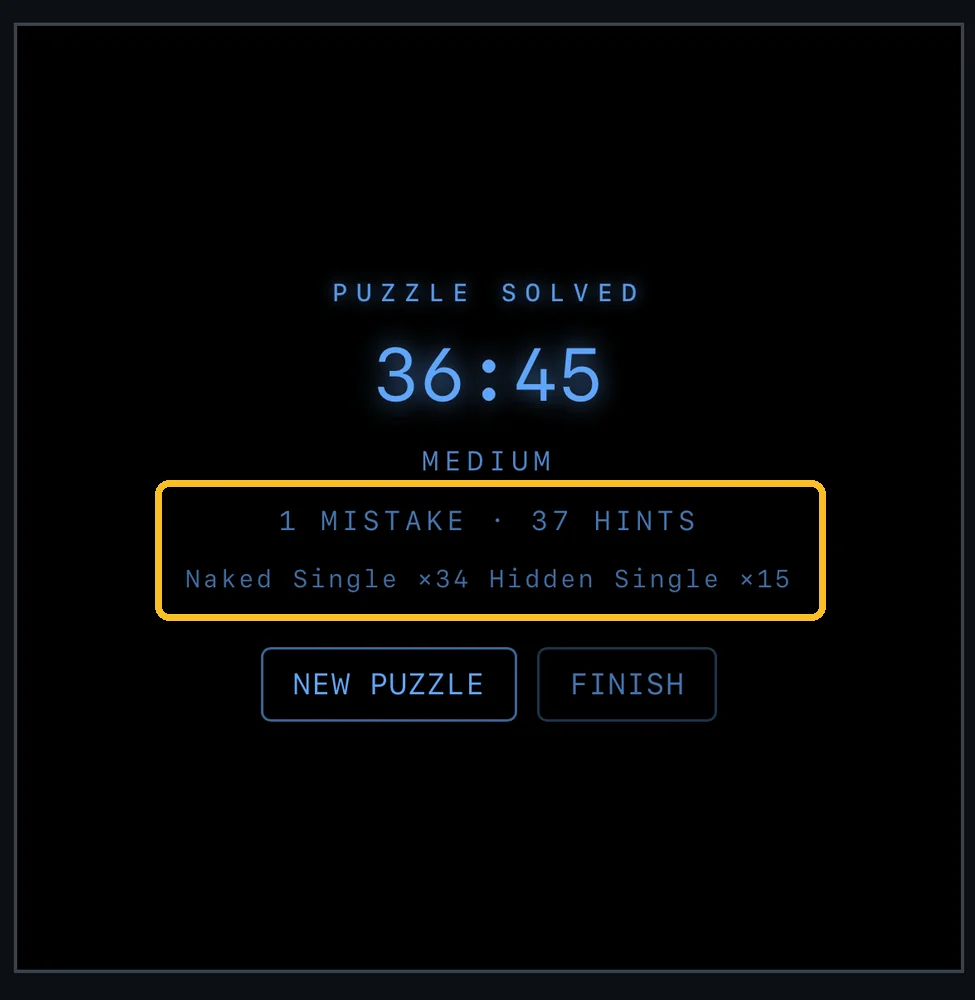
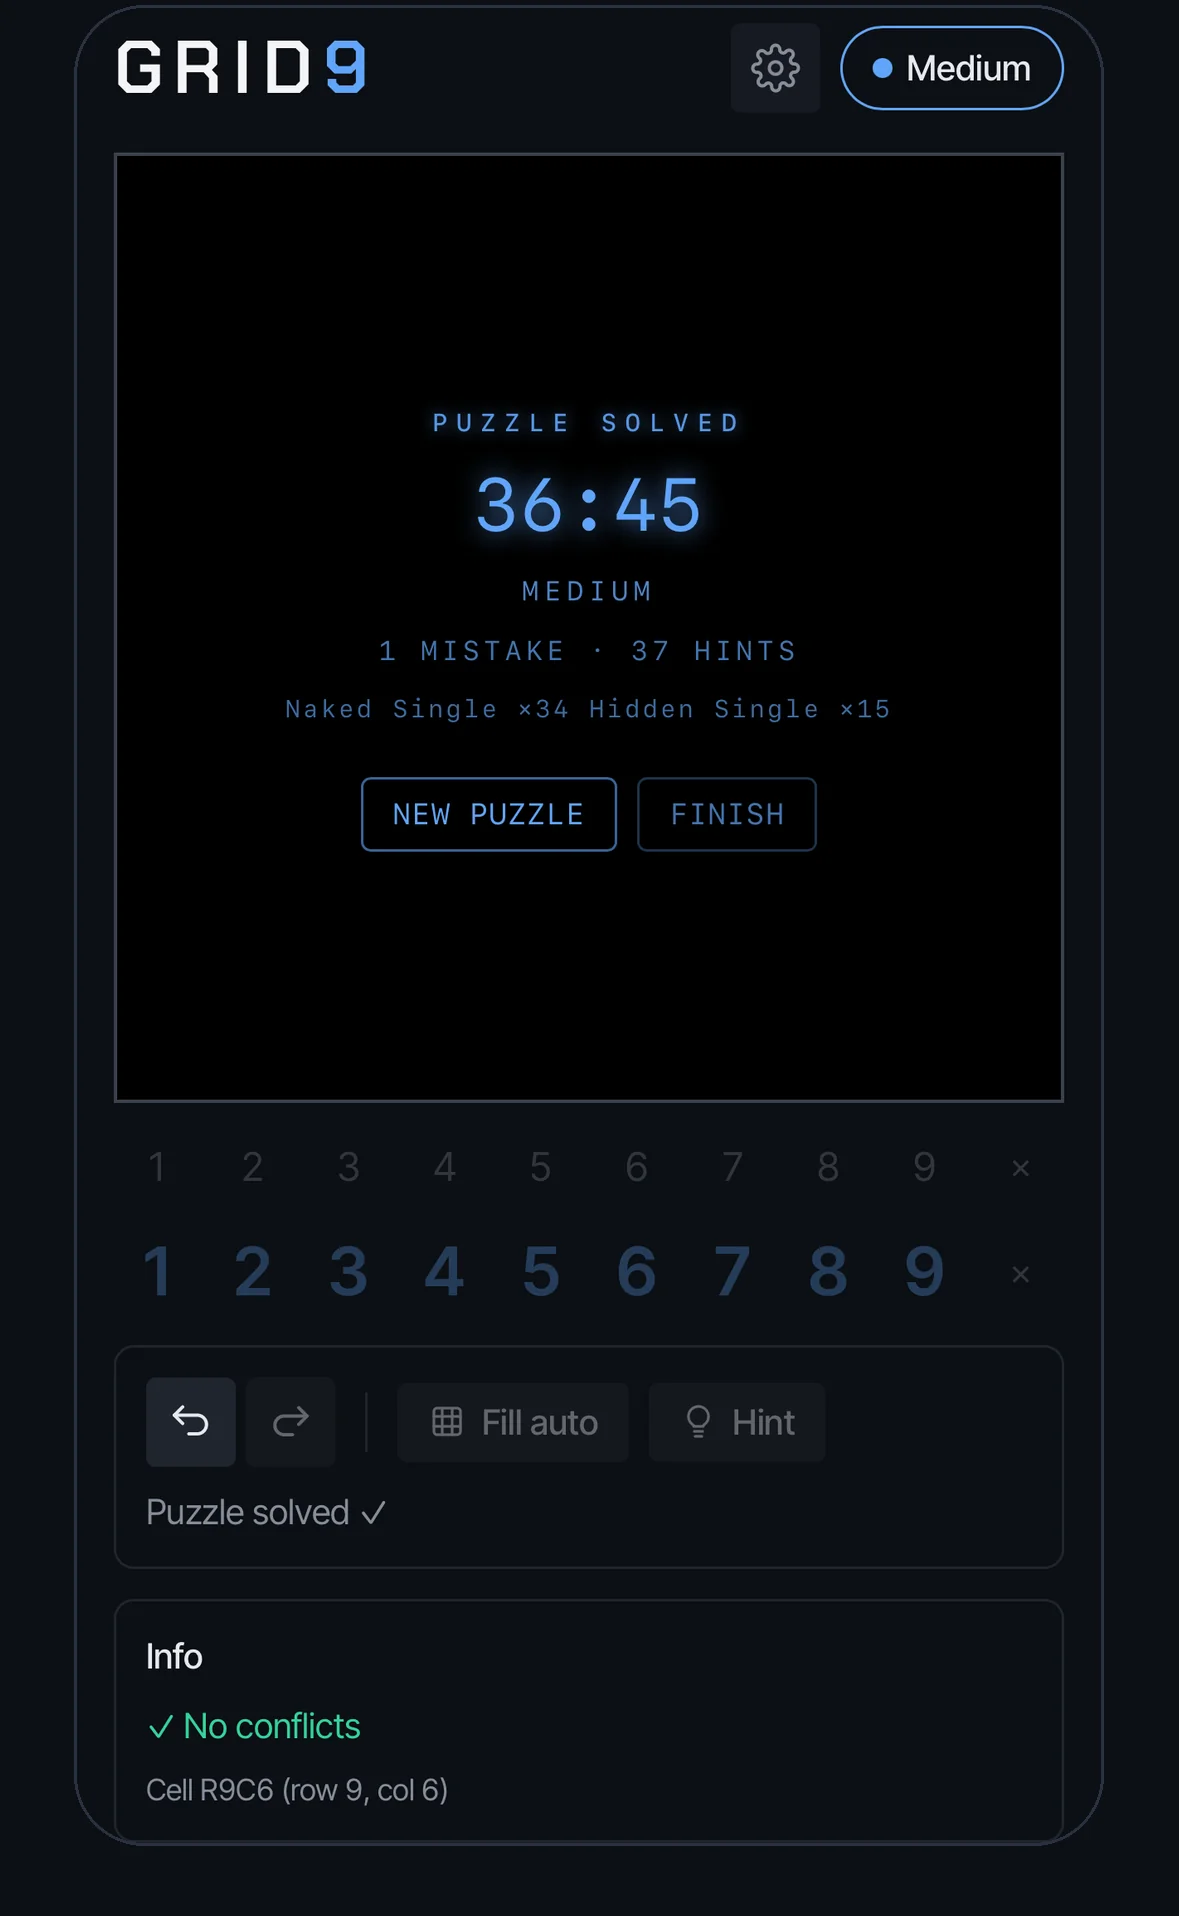
A wrong number is counted against the puzzle’s solution, so at the end you can see how clean the solve was. When the last cell is filled correctly the grid plays a short animation and shows time, mistakes, hints used and the techniques used. All of it goes into your statistics.
← Learning a strategy All guides Custom puzzles →
Try it yourself
This guide is also built into the app, under the gear menu. Reading is always free.
Coming soon to the App Store